Tuesday, July 31, 2018

One Year of Blogging...

Where does the time go?

Beware:  incoming wall of text. 


Sunrise, Sunset

So it's been one whole year since I've started this blog.  1 year is not a long time in the scheme of things but kinda feels like forever to me.  This whole thing started because I was spending more and more time looking at wargaming blogs for reviews, ideas, just some fun stuff to read, and seemed like people were having a lot fun with the interactions from others, building and maintaining an online community, and I wanted to be a part of it.  So far, I think it's going alright.   I really appreciate all the visits into my own corner of the internet and I hope that my comments encourage others as well.  Actually, I still feel very new to blogging  and it's no small skill to be able to write something that is both entertaining, easy to read and understand, and maybe a little informative.  I hope that I am improving. 


It's Not Me, It's You.

I have no idea how to judge if a blog is successful or not.  Number of Page views? Number of followers? Number of bots that spam your posts?  Is it fun?  For me, the thing that has become the most fun and rewarding aspect of blogging is the COMMENTS!  I like leaving comments on other people's blogs and checking back later to see what they say, and love it when comments are left on my blog.  I think everyone likes comments, and sometimes this creates a rewarding cycle:  I'll leave a comment when you post, you leave a comment when I post...even small comments like "Hey good job, I like that," or "atta boy!" are nice to receive.  And while it might not be EVERY post it's more often than not.  These sort of on-line relationships are the ones that I like best and I count myself LUCKY to have a few of them.  If I have any immediate goals for this blog, it's to increase the number of these mutual symbiotic relationships.

Without receiving comments (and let's not forget the little gift that BW sent me after "the shipping disaster" that I still need to repay),  I think I would of stopped blogging pretty quickly.  It'd be too much like shouting into the void. 
So to the people that consistently leave comments and feedback, even small ones:
Thank you.
I really appreciate it.
And I hope that you think I also consistently provide you with comments, and that they increase your pleasure of blogging.


Comments when content is interesting  

Now that I am a 'Master Blogger" with a whole year of experience; I've noticed two other trends with comments.  One is that people will leave a comment when the post is 'of interest' to them but ignore the rest.  I think this style of interaction represents people who have more specialized interests versus more of a generalized interest in wargaming.  I like all things wargaming so I tend to leave comments everywhere, because I'm a little bit into everything.  This sometimes results in weird situations where I'm following a blog that seems to focus on Napoleonic land battles which I have almost no interest in collecting...( I would play in any nap game, I just don't want to collect the figures)

-why? I find the history hard to follow, I don't know what the soldiers are called (whats a Fusilier, how is it different from a Grenadier,  and what's a Hussar?), the uniforms are intimating the paint, you need a ton of miniatures-

..but the blog is interesting, the author is entertaining, I like the discussion of scenarios and AARs, there are awesome tutorials on terrain and conversions, nicely painted miniatures, etc.  (you get the idea).  So I'll leave comments on their blog post after post.  Sometimes, the person responds back and then we enter into the mutual symbiotic pattern that I described above.  And we all feel happy.

BUT!  And Speaking for myself here; if they don't, or just leave a comment here once in awhile when the post is interesting to them, then I find that my behavior will start to match theirs.  Each one of us leaving comments once in awhile when something peaks our interest.  A pattern of Comments When Interested.
- I don't think this is a bad thing necessarily.  It's perfectly acceptable, it's just not as much fun.  : )

It's also understandable.  Looking back over the last year I've mainly written about ACW and AoS, and if those two subjects don't really interest you then all that is left are my outrageously humorous jokes.  Which should be enough; my wife always rolls her eyes and says that I'm hi-lar-ious.  And one thing I have learned after hundreds of days blogging (365 of them!) is that you got blog about what you find interesting, otherwise it becomes a chore.  It's nice when others also find it interesting but no one is required to.
And I imagine, that most of the people on the 'Followers list' fit this category. Interested enough to read along and comment once in awhile.  These people are also appreciated, and I hope that when a post I write is interesting to you, you'll say so.  I promise that I will do the same.

--unless you have a google plus profile, in which case i'll be lucky to even FIND your blog because I do not know where to look, I just don't understand that platform.  So far I've only been able to find two blogs through google plus and that was by luckily clicking random places.  I also don't know how to leave comments through google plus.  Google plus is lame.

Not responding to Comments in General

The other trend I've seen is that the author doesn't respond to comments at all.  And while people can do what they want, I find this behavior weird.  It's kinda like walking right by someone who just said hello.  I'm sure the person is not intentionally being rude, it's probably just not their style to build interactions.  I've found that on blogs like these, while I might follow along I've stopped leaving comments altogether.  You'll see that on my blog, I like to acknowledge comments with a thank you.  It just seems the right thing to do and I enjoy blogs more that are similar.  

Ok, enough talk of comments, it is time for action!  And that action is: more reading!

Highlights of Year 1

So my original intent in this section was to make a list of blog posts that others had written and that I had really enjoyed, that were posted throughout this first year.  Kinda like; 'here's some stuff that you wrote that I really liked.'  

However, the list started to get too long and cumbersome,  I started to get worried that I'd leave someone out, and getting the links right was such a pain in the ass; that I gave up on that idea.  Either I am way too easy to please and like everything or there is a wealth of excellent blog posts out there.  Not on this blog of course..   How was that for an extra special look behind the scenes here at Terrible Loss.  And because I am a comments leaving machine I know I've already told you how awesome your post was.  Just know that if I said that I really enjoyed a post or series of posts, that I meant it.  

My blogroll has grown tremendously, and the number of blogs that I actively read has increased.  I really do enjoy what I read and makes me feel more connected to this wargaming hobby.  Which great for a guy like me who doesn't get to game as much as he likes; because families ruin everything.   I also figured out how to get it to display only a certain number of blogs at once, because I don't like it that the list just goes on and on and on down the page.

It's Not You, It's Me.  

On a much more manageable topic, let's talk about little ol' me.
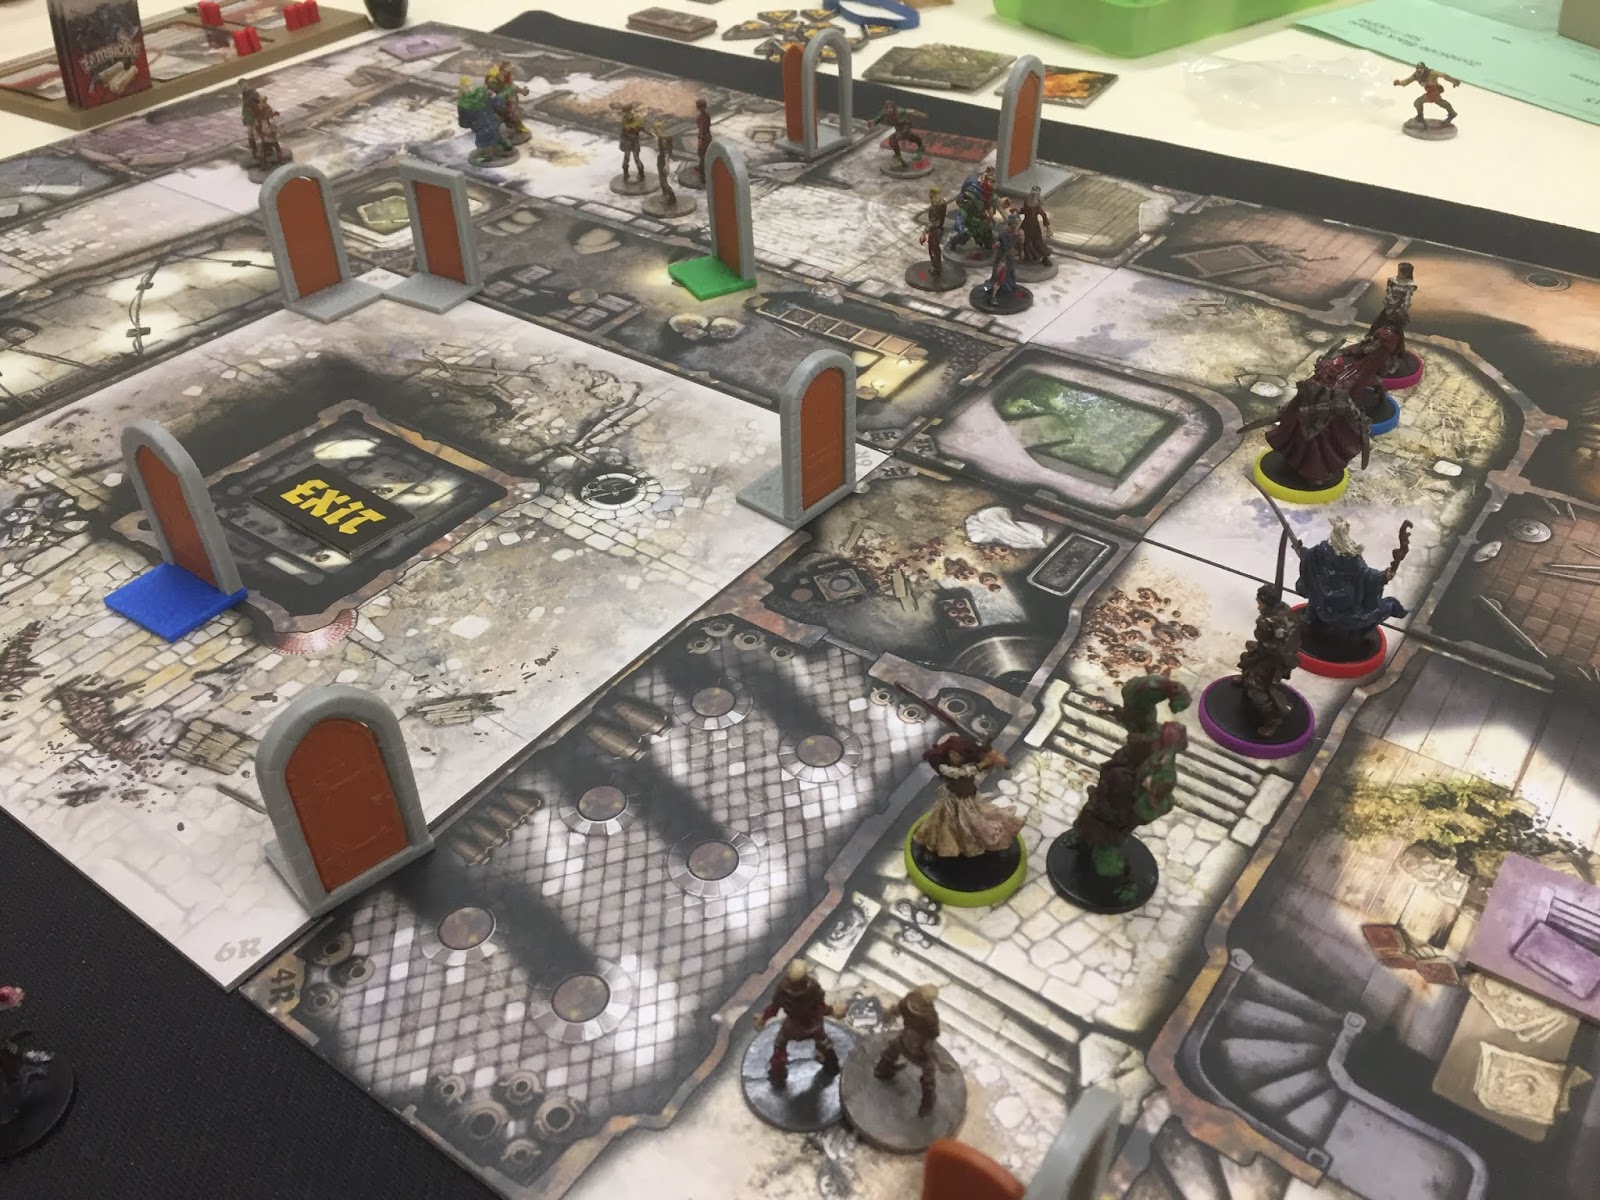
Looking back through my posts, I find that I still like most of them.  I think I can see a small improvements over time in being more clear.  Overall; my favorite posts are the ones that are more than just "hey, I painted something (poorly)" or "look, I played a game;"  my favorite posts of mine include a discussion about the scenario, a review of some sort, and the tutorials.
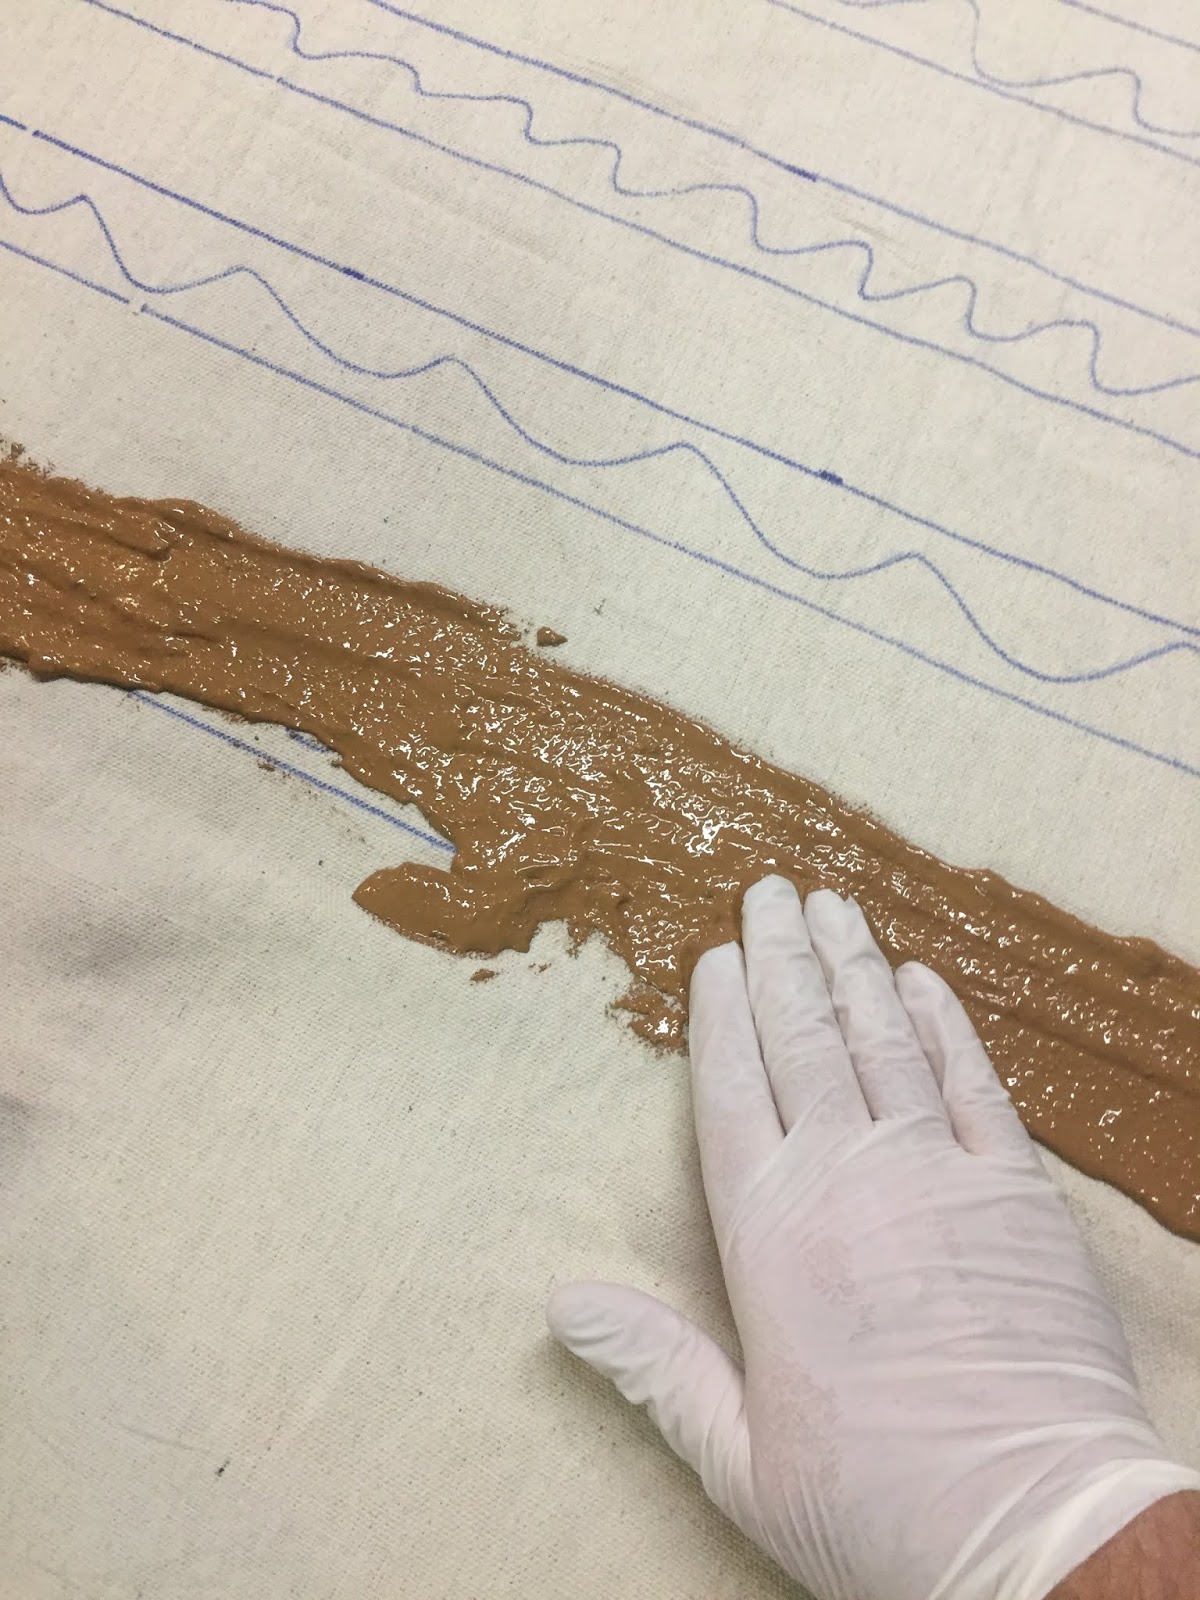
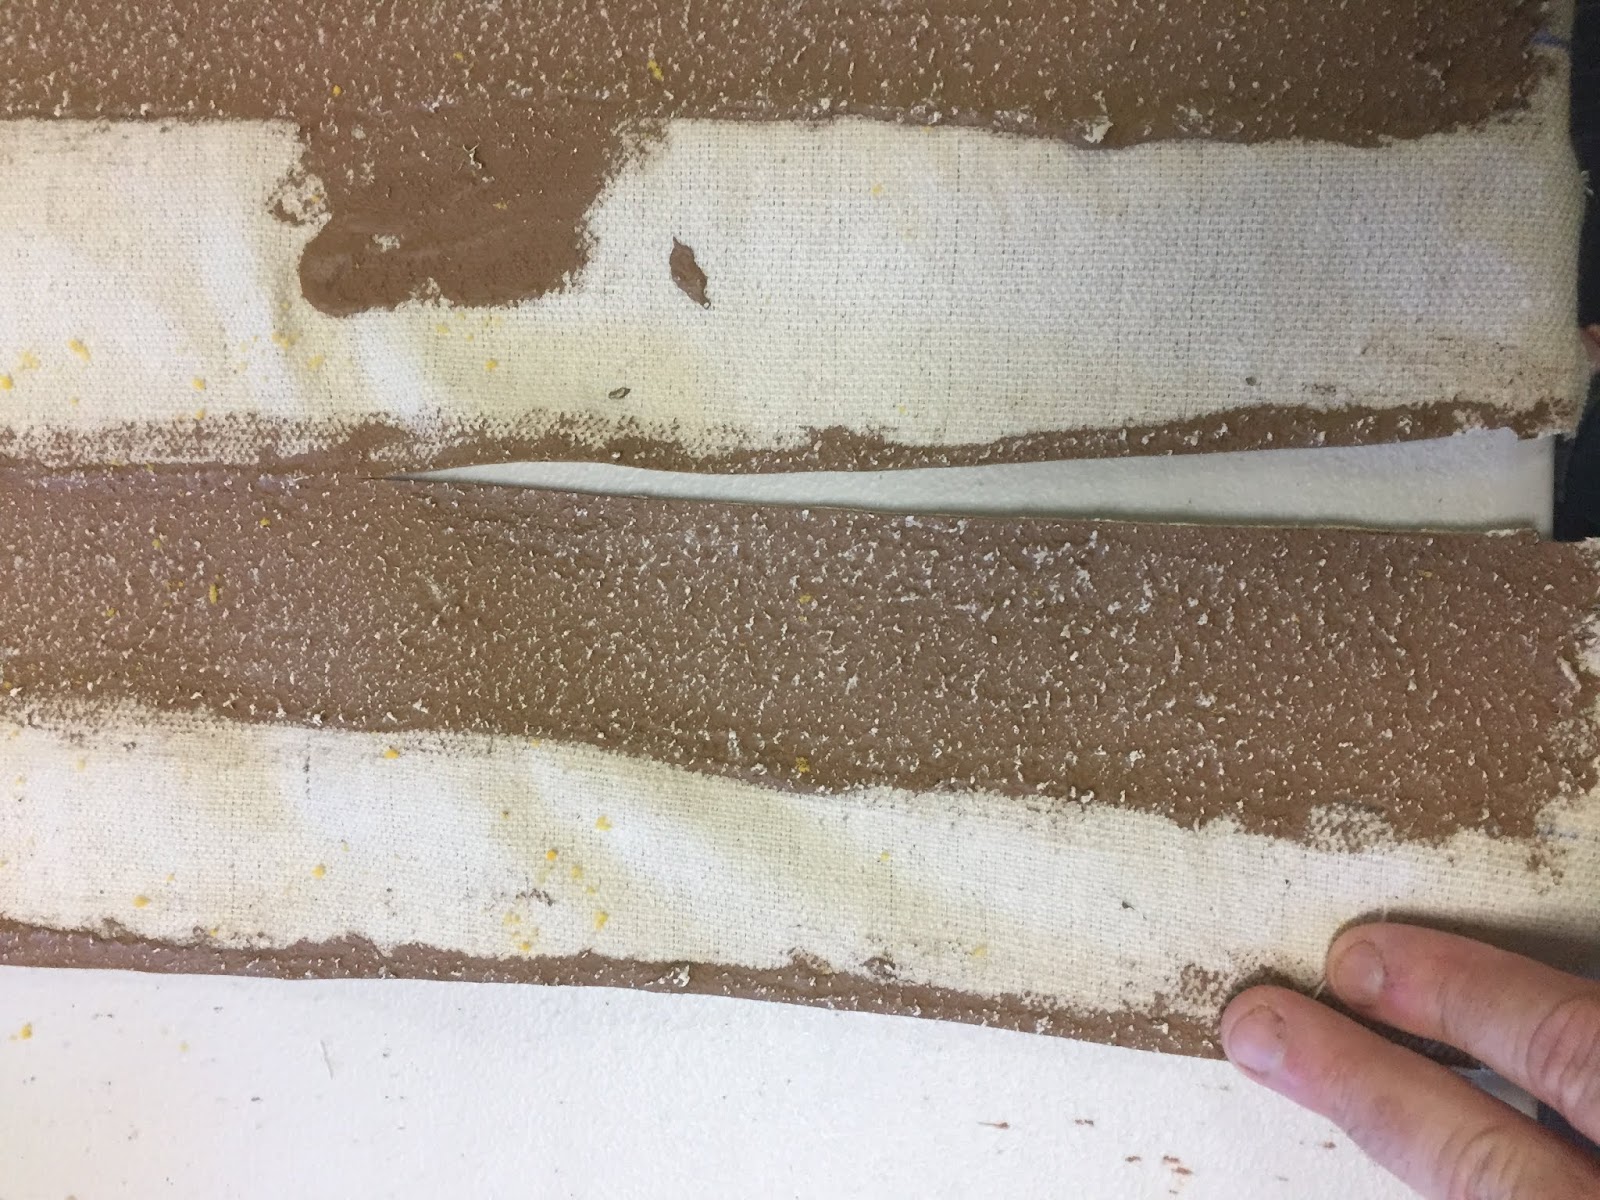
-The tutorials are not meant to hold myself up as an example of being awesome, but hopefully come across more as "here is what I did, I hope this will be helpful to you."  Also that if I was able to construct something than anyone can; I am not known for being the most handy or good at skilled labor.

Also I am pleased that the blog has an overarching tone of fun and being positive.  We all could use more of those qualities in our lives.


Wednesday, July 25, 2018

Convention report: Midsummer Conquest


Last weekend I went to Midsummer Conquest.  This is a small local con and it's initial year.
I do my best to support local conventions, basically in the idea that if I support them they'll continue to exist and maybe grow larger and I'll benefit from having wargaming conventions within an hour drive away.  I was only able to go Friday afternoon / night and all day Saturday so I missed Sunday.


Friday

I took Friday off to hang out with the family in the morning before vanishing for a day and a half.  
I arrived around 1 or 2, said hello to people I knew and began set up for my ACW game that began at 4:00, called "The Mountain Pass" (or some such).  A fictional scenario where the Union is trying to push off the Confederates on a ridge in order to open up the pass for the rest of the army...

Also going on at the same time were a zombie game and What a Tanker.  Each game had a few players but no one was full.  I got one player, Mr. HL who often plays in my ACW games.  1 player was fine with me because it meant that I could play.  : ) 

Also, I knew it was going to be a small convention so all the games that I hosted were small 2 versus 2 affairs that could be 1 vs 1.  For example: in this game the CSA had 2 medium sized brigades of 3-4 regiments.  A player could control 1 brigade or both without much more effort. 

So HL took the CSA and I took the glorious USA.  No detailed ARR but some photos with some pithy captions..

glorious Union deployed to take the ridge

obnoxious rebels defending the ridge

"We're going up there boys!"

Aim the guns!


Charge!


cave in the flanks and roll up the line...


And after I cleaned up the table I played some What A Tanker (more on this later)


One thing that was super convenient; I got to leave all my ACW stuff overnight in the locked room so I didn't have to transport it twice.  Especially as I was gonna be back first thing in the morning..

Saturday:

Back early the next morning the second game that I was running at 10 AM: more ACW.  This time it was the "Caldwell Clears the Wheat Field" (or fails to do so in this case).  This is one of my favorite historical scenarios.   There were naturally more games going on this morning, so the players were spread out some but I fish hooked two of them:  Mr HL again and Mr. C(last name unknown).   Mr C took the CSA while Mr HL and I took the USA.


Again, no detailed AAR but pics and captions...

The table is set, the scenario begins!


I like my bright yellow Wheat Field


Advance!


Keep Advancing!

Over the wall!

And that's as far as we get...
(I like that series of 4 pics, where the Union just advance from right to left...)


That game played faster than I remembered, so done by 1 and cleaned up in time to play a few more hours of What a Tanker.

What a Tanker is everywhere I look these days so I was cool to finally play it and the internet is correct: it's fun and easy, if not a little too simplistic.  It reminds a little bit of the Songs of (whatever the genre)  activation mechanics and definitely tops out at a certain number of tanks / players. 


When WaT was over, it was early Saturday evening (or late afternoon, depending on how you see things).  There was something of a gap in the schedule, as nothing was really happening until 7 PM. 


Luckily for me, I had the forethought of bringing my Age of Sail ships with me.  So I quickly set up a game of Post Captain for anyone who wanted to play.  A quick scenario where 3 French SOLs take on 2 British SOLs.  Each player got 1 ship. 


Everyone enjoyed PC, even though I was more rusty at the rules than I thought I would be, so kinda muddled it.  We played for about 2.5 hours and got in about 8 turns, with my ship taking the worse of the damage because I sailed my French 3rd rate out ahead of the formation and took on both of the British.  After my ship struck with only moderate damage but a poor command check, the game ran a little smoother.  It was my first time presenting PC at a con and it went well enough.  So I'll be doing that again in the future. 


Lastly the end the night, I joined a game of Zombicide Black Plague.  A cooperative game set in some sort of high medieval fantasy setting infested with zombies.  I've never really heard of it before, I played the game mainly because I wasn't ready to go home yet and end my day of gaming and I was tired of miniature games.  besides, I like boardgames.  But the game was actually really fun, played well, good mechanics, and we won!  the host said that the players win about 1 in 4 times.  Of course, that doesn't take into account that we were all natural born zombie killers. 


Overall Thoughts:

Venue:
The venue of McCellan Center was very nice, easy to get to, easy parking, clean, etc..  I didn't stay in a hotel but commuted from home.  There was some limited food available that I couldn't eat due to my diet restrictions but others seemed well-feed enough, and there were fast food restaurants within driving distance.  All the activities were basically assigned their own room (like there was a miniature wargames room, a board game room, a roleplaying room, etc. and all the rooms were big) so sometimes you felt a little isolated from the rest of the con, but on the plus side it was never crowded and I didn't have to shout.  Plus Friday night I was able to leave my stuff in the locked room for Saturday morning, which was super convenient.


Size:
No lie it was a small convention but I was well aware of that going in.  I have no idea of numbers and spent almost all my time in the miniature wargames room so I have no idea if the other rooms were packed or not.  For miniatare wargames: I won't say there were a lot of games going on but I will say there was always something going on (if that makes sense).   There were some cancellations.  I don't think any game had a full set of players.  All games did look nice and fun.


For myself, I had a great time for my day and a half of fun.  I'll be back next year.


And now..


After all that gaming excitement the last 2 weeks, I need to re-organize my stuff.  I'm a mess.


Thanks for reading, comments appreciated. 


Thursday, July 19, 2018

Barlow's Knoll AAR; ACW Regimental Fire and Fury


Hello all.

It's been ages since I've been able to host a game at my place, but now is the time to get back into the practice.

I'll be running two medium / large-ish ACW games at the Pacificon convention at the end of August during Labor day weekend.  One of those games will be a scenario based on Barlow's Knoll, which I think will be a fun scenario but perhaps a little tricky to set up well.  So I thought it'd be a good idea to, you know, play it once before the convention, something like a play test.

I was successful in getting 4 players (Mr. AS, Mr. SS, Mr. CG, and Mr. HL) so I would be the umpire, so a perfect convention play test set up.

I talked a lot about how this scenario came to be in a previous post HERE.

Barlows Knoll Set Up

Step 1) Tell the wife to clean clean the house because MEN are coming over to play wargames.
step 2)  Clean the house yourself.

step 3) set up the table!


Elevations were easy this time, there is only one...

View from the table up to the knoll, to demonstrate the elevation

Table with terrain all placed.  

Just for fun, another shot looking up to the knoll, with terrain added


Almost all of my previous gaming experiences are opposite of this; we would just set up a board / terrain to whatever looked good and right.  Trying to get the terrain to match a scenario map which matches a real place is still a new thing for me.  Seems to be going alright but it adds a new dimension of things to thing about.  In the more traditional set up; you place the terrain but then you have an open hand on where to deploy the units so it's easier to mitigate any pitfalls.  But following this more 'historical' approach where the terrain and deployment are preset means that to give a 'good game' the organizer has to think through how the two interact.  
Let's remind ourselves of the Forces involved:

On the CSA there are 4 brigades lead by Hayes, Avery, Gordon, and Doles, with a total of  18 regiments; 123 stands of infantry, plus 11 cannons.  Each CSA player controls 2 brigades and some cannons.  

On the USA there are 2 Divisions; made of 5 brigades lead by VonGilsa, Ames, Amsburg, Krzyzanowski (Krzyz for short), and Coster (who is a reinforcement that comes in later on the union side) with 18 regiments of 117 stands of infantry, plus 10 guns.  Each USA player controls 1 Division and some cannons.

(that's close to 500 miniatures on the table, how I LOVE 15mm games)


troop set ups:

CSA deployment


Union deployment

And here are some more set up shots, just because I took them..

Kzryz's brigade is set to counter attack, deployed in march column.

Avery's and Gordon's CSA brigades are poised to attack the knoll

Ames' brigade is deployed behind the knoll

A brief AAR:

I did not take a lot of pictures during the game, because I was too busy running it, being social, and stuffing my face with pizza.   And it takes a lot of pictures and text to do a good detailed AAR, so instead here's a half assed effort!  I did add some diagrams to help tell the story.


The CSA attack begins!


Advance up the Knoll!


watch out for those giant D10s!  : ) 


But Hayes' Brigade gets bunched up


CSA attempt to drive the attack home but there is trouble at the bottom of the table...


The Union rush troops forward


The Union turn the flank at the bottom of the table.


Positions at the end of the game


And the game ends like many others that came before it; time runs out and we've yet to reach a solid conclusion.

Big events:
In the East (bottom of the table) the Union seems to have succeeded in turning the flank of the CSA and routed two of Dole's regiments.  And while the CSA had stabilized somewhat the Union were poised to press the advantage. 

At a crucial stage in the CSA attack, General Gordon was wounded and removed for 1 turn, making all of his regiments Out of Command, and the bad luck continued when all those regiments rolled very poorly for the maneuver check and basically halted or fell back, which meant that Avery's brigade behind them had to halt as well and the whole advance stalled for a turn.  


Post Game thoughts

Everyone said they had fun playing, I enjoyed running the game, and it was gratifying seeing all the terrain and miniatures that I've made being used.  Makes all that effort worth it.  I also thought the table looked pretty enough.  : ) 

Also, Regimental Fire and Fury continues to provide a lot of fun.  I do like those rules.  The scenario seems to be fun as well, but will need further tweeking.  

 It did bother me though that we played for about 5 hours and only got about 5 turns in, and did NOT reach a conclusion.  At the convention, this game is scheduled to run 5 hours and 10ish turns.  SO this means I either grossly under estimated the time it takes to play or we goofed off way too much.  Problem is, I don't think we goofed off all that much.  

Hayes' Brigade on the CSA left flank (top of the table) did not reach the fight in time to really do anything.  I'm not sure why this happened because I thought I did the math right...

(here, I'll prove it to you: The brigade activates on turn 2, and will move between 8-12 inches per turn, depending on maneuver check result, so in 3 turns of moving which would be turn 4 of the game the brigade should advance anywhere between 24-36 inches.. which is more than half the table).

Things to Think About for the Next Time

In any case, the game will need to be sped up for the convention.  Let's do some more math (you came to this blog for the math right?) 

5 hours =  300 minutes of total playtime.  Minus 60 mins off that to allow time for a food break and some time in the beginning of the game for me to go over some rules. That leaves 240 minutes of play time.  Let's say about 30 mins a game turn (which might be an over estimation but who knows; there will be some newer players and I tend to give people larger commands because I think that's more fun); so 240 / 30 = 8 game turns.  It'd be hard to imagine playing any slower, and if we go a little faster then maybe we can squeeze in another turn or 2.   So I still think I'm pretty close with estimating 10 ish turns but consider the middle of the game to be around turn 4.

here are some thoughts on how to sped the game up slightly, more for my own records but might as well share with you, since that's the whole point of having a blog...
Most of these involve adjusting the CSA, but that's because they are the attacking force and in a scenario like this, it's the attacking force that drives the action.

1) All CSA brigades can move on turn 1.
2) Fudge the CSA brigades deployment some so they'll be a little closer.
3) Smooth out some of the terrain in front of Hayes' brigade so it can move faster
4) maybe give a few hints to the CSA players
5) in the set up; I think Barlow's Knoll could be a little smaller and little off center (to the east), to allow more deployment space.


It's the constant balancing act of keeping the game 'historically accurate' with regard to terrain and forces but with play-ability with both sides having a reasonable chance to win, and all players having fun and feeling like they contributed to the final victory or defeat.  

Thanks for reading!  Comments are appreciated, read, and responded to. 

Wednesday, July 11, 2018

DIY wargaming roads tutorial (with bonus content on DIY fields)


Hello again.

In this post, we are going to be making roads for wargaming using caulk and paint, as well as making some fields.  I called it a tutorial but it's more of a 'here's what I did and how it came out.'   Hopefully a fun post, and probably will get long winded.  let's find out shall we?

We're on the Road to Nowhere  (if that reminded you of a song from They Might Be Giants, then you and I are on the same frequency brother!)

This is a project I've been meaning to do for awhile; making some roads for my 15/18mm ACW games (or just for 15mm wargaming in general).  And with several ACW games planned in the near future (hooray!) I decided to get to it already.

Bonus content: I'll also be making a few fields.  Mainly, I'll be making The Wheat Field for the scenario Caldwell Clears the Wheat Field. you can read a previous AAR HERE.  In it I mention that I wished the field was just a little bigger and more colorful.  Since I'm running this scenario again in about 2 weeks at Midsummer Conquest, now seems like a good time to do that.

Now I could of just bought roads, and I was tempted to.  I have some excellent roads from Wargamer's Terrain that I got in 4" width for my 28mm wargames.  everytime I use them people ask me where I got then, but 4" wide is too big for 15mm.  However the roads do come in 2" wide sections as well.  but like many people I only have SO much hobby money, and cash saved here can be spend there.  Also, I like to make terrain and try new things; and I was going to need a LOT of roads eventually; so if this process works it'll give me nearly unlimited roads.

There are several good tutorials online, so hopefully this post will take it's place among them.  I can recommend Red Beards Youtube channel as being a good resource and I stole one of his techniques (more on that later).

This whole process is really just an extension of the techniques I used to make my own wargame mats, seen HERE

DIY Wargaming Roads Tutorial

Let's get started:

Step 1: Find a place to work that can get a little messy.  I chose my garage, which is embarrassingly cluttered, so try not to look too hard at the background of any of the pics.  When you're done you're going to need to let it dry so it needs to be a place where the set up can stay at least overnight.

step 2: set up a table (i used a standard folding table that's 6x2.5) and put your drop cloth . canvas, or whatever over it.  I used a painters drop cloth that I got from Home Depot.  Next, secure the cloth to the table.  I used a bunch of clamps, they can be seen under the table.  I'm told that if you don't secure the cloth that the whole thing will shrink up into a ball as the caulk contracts as it dries.  I have not tested that theory for myself.  It also makes it easier to work with because it won't move.


step 3: Use a sharpie and sketch out the roads and fields.  I wanted my roads to be about an 1.5" wide as my ACW bases are an inch wide.  This is just for a rough guideline so you don't need to be too exact.  I colored in the roads just so I could keep track of which sections were to be roads and which were just spaces.


For the Wheat Field, I wanted to make sure my terrain like fence and stone wall sections would fit along the borders.  So with a, dare I say genius, idea I tool out some terrain and laid it out in the shape I wanted, and then drew the lines of the borders.

step 4) Get interrupted about 100 times by wife and kids and other chores that suddenly have to be done right that minute that it gets so late that  you pack it all up and continue on some other night in the future.  You can skip this step.

after all this, it's time to mix up the caulk, paint, and texture...

Gather Thy Matierials


You'll need some buckets to mix stuff in, some paint stirs, caulk and caulk gun, latex gloves (small size for me because I have delicate surgeon hands), and some paint a suitable brown color for roads.  I used latex house paint which can be pricey because I had some already, but I've seen other tutorials use craft acrylic paint.  you'll also need some lighter brown and white paint for dry brushing later.

depending on how much you are making, you don't need a ton of stuff.  to make everything in this post I ended up using 1 tube of caulk and maybe a quarter gallon of paint.

Here is a close up the caulk I used.,  Notice it says Acrylic (not silicone), paintable, and flexible.


this is what I dumped into the caulk and paint to add texture.
Coffee grounds are the unsung hero of basing material.


lets get started...


step 5) squeeze into a bucket about 3/4 a tube of caulk.  The add in paint, coffee, and fine ballast and stir stir stir stir.

looks like something gross...

 I wish I could tell you an exact formula but there isn't one.  You want it to have the consistency of a milk shake.  I added a good amount of coffee and ballast so that I could see it.


step 6) pour the caulk.  IMPORTANT:  I have found that a thin layer of caulk is better than a thick one.  A thick layer will crack as it gets moved about while a thin layer remains more flexible.  so thick enough to cover the weave of the drop cloth and that's all you need.


Take the bucket and do a quick pour down the length of the road, and then use your hands to spread it out.  You want to go over the lines by a little (why will be clear later).  Sometimes I used my hand to ladle out some mixture to where it was too thin.   I did both motions of smearing it out wider and down the length.


turns out I has some extra caulk/paint mixture so I made some more roads and a half section just by scooping out a handle full and smearing it down the drop cloth.  So while I only drew 7 roads I ended up making 9.5.


Close up of the roads...


Now for the field...


for the field, you're gonna do the same thing, except in the shape of the field obviously, plus one additional step: while the cualk/paint mixture is still wet dump a whole lot of flock over it.  just shake it out over the caulk and maybe press down here and there to make sure the flock really gets into the paint.  PROTIP:  I have found that 'turf' works better than just static grass.  so at least mix both.

yes this pic is sideways, just seeing if your paying attention

I wanted the Wheat Field (it gets capitalized because it's that important) to be a really bright yellow to make it really pop on the table, so I used 'Fall Yellow Course Turf.'  Like I said, you want to be sprinkling out the flock while the caulk is still wet so have the flock ready to go after you pour the caulk.  You need to be quick, but don't need to hurry if that makes sense.

The table as everything dries.  9.5 road sections, The Wheat Field,
and two other fields I haven't mentioned yet; extra credit.

step 7) let DRY.  let dry FOR A LONG TIME.  The longer you let it dry, the better.  If you touch the caulk and it's cold to your skin, it's not dry.  You will have less issues with curling if its completely dry before you cut out the roads.  I let this dry overnight and into late morning and honestly it still could of used more time.  But I rushed it a little bit because I got impatient and I feared another series of interruptions.  I also wanted to get the family car back in the garage before it got 100 degrees outside and it got boiling hot in the car.

optional step) ruts:  You could take a fork or something and when the caulk is about half dry make little furrows and ruts in the roads.  I didn't do this because I thought my fingers did a good enough job but they seemed to have mostly disappeared as it dried.

SO, After it's All Dry

almost done now.  Just 123 more steps....


Dry roads with dry brush done.
step 8) dry brush the road as you see fit to bring out the textures.  I gave a layer of lighter brown and one of white.  My only advice would be to do a super duper dry brush.


for the fields, brush off the excess flock that didn't end up sticking to the mat.  alternatively you could give it a good shake and send the flock flying off everywhere.

If the flocking seems light in any areas then you can spray it with some watered down white glue and
reapply the flock here and there.  


step 9) cut out the roads and fields.  Any pair of good scissors will do the job.  Cut the road out just before the point that the caulk gets too thin / splatters. 

tadaa!

gah!  see how it curls at the edges.. probably could of used a few more hours of drying...
step 10) lay out the roads and see how much they curl.  Might be a little, might be a lot.  I do believe I cut my roads out before they were completely dry, so as some parts continued to dry and contract the edges began to curl up.


duck tape solves everything!


Step 11:  Take a 2" roll of duck tape and run it along the bottoms of the roads. This will help hold the edges down.   This trick I learned from Red Bread's Video road tutorial.  (for some reason, my LINK button isn't working, so just search youtube for red beard wargaming roads)

After that, trim the roads again so that no tape is showing on the edges.  And you are.... DONE


Flexible roads.  

Optional step: add flock the edges to blend in the roads to the table.  I didn't do this because I didn't think of it honestly.  If I were to do it all again, I would add flock the same way I did to the fields, just sprinkle it on as the caulk the dried.  alternatively, you could just do it after dry brushing by using watered down glue.  For the time being, I'm gonna leave the roads bare and see how I like them.


I made this much roads!

So if my math is right. 9 sections each of about 2.5 feet is 22 feet of road.  I kinda wanted to see how much that would actually be on a wargame table, so I put together a 5x6 table.  I also threw down my wargame grass mat just so see how the roads looked on top of it.  I think I produced a decent amount of roads for a first effort.  later on I will trim these to various lengths for more variety.

you'll  notice I didn't make any curves, just all straight pieces.  There's no hidden meaning to that, it's just when looking at scenario map almost all the roads I see are straight, just bend at shallow angles, or are crossroads.


All done now, On the Road to somewhere.  


And since I already had the mat down, and the roads, and most of my terrain is also kept in the garage, and I wanted to take some pretty pictures for the blog, I started to lay out some more ACW terrain and the fields to see how it call came together...

I'm liking how bright the wheat field is...


Union Regiments on the March


Not too shabby...

I set up that much terrain and was reaching for more when I remembered some things:
it was late
it was hot (Sacramento's hot even at night...)
I was hungry
and my two living children were gonna get up really early....

so I stopped screwing around and cleaned it all up so I could go to bed.  : )

These roads and fields will see good use in some upcoming ACW games.  Hopefully my initial excitement will bear out.

I hope this will be helpful to anyone.  I encourage you to give it try if you are so inclined.

Thanks for reading, and comments are always appreciated.