OOOOOOOOOOOoooooooHH,
The ACW
is the BEST CW,
by now, you already knew.
Since the ACW
is the best CW,
go on and buy a few!
(hundred miniatures).
Now we're getting close to finally finishing this song, and the battlefield. Not sure which is more important.
Even More McPherson's Ridge
With the elevations complete the general landscape had been formed, as seen here in part
FOUR,
Now it's time to get some things to put on top of that landscape. 'The hills are alive' with adequately painted miniatures and terrain.
Railway Bed
Cutting through the board is an unfinished railway, so I needed a track bed. My idea was to make this visually different from a road but since there aren't any tracks on it, it's basically a road.
 |
| Notice the creases, I didn't think they would matter. |
The track doesn't need to be flexible as it just cuts through all the hills like a hot knife through butter or my wife through my bullsh... anyway it just goes straight across. The battlefield is 5 feet across so I took my heavy felt and cut two strips 2" wide and 30" long. (30 + 30 is 60 and 60" is 5 feet. Don't question me maths).
I gave the strips a liberal coating of watered down white glue and then coffee grounds from cheapo decafe coffee that NO ONE should be drinking anyway.
Let dry thoroughly which only took about 10 mins because here in the Sacramento area it is 104 degrees outside
every
single
day.
 |
Dammit, you can still see the creases.
Next time I'll have to iron it.
but it's risky to remind the wife that I know how to use an iron. |
Lastly, the things were primed with black and then given various dry brushes of browns and what not.
Came out OK in the end. I don't LOVE them like I love a good tax refund, but acceptable. And I gots to move on as I am on a deadline here.
Fields of Frustration
The battlefield is covered in several wheat fields. I'm not really interested in getting every field and fence shown on the scenario map, especially since wheat fields don't affect game play. I just need enough to look pretty. Like someone wearing juuuuust the right amount of make up.
I've seen some cool fields made out of teddy bear fur, so I wanted to give that technique a try. For a good walk through of the process you can do no better than this
ONE from our online friend The Tactical Painter.
As seen way back in part 3 of this build, as no doubt you have committed the whole post to memory because of it's awesomeness, I've already played around with the scraps of teddy bear fur I had...
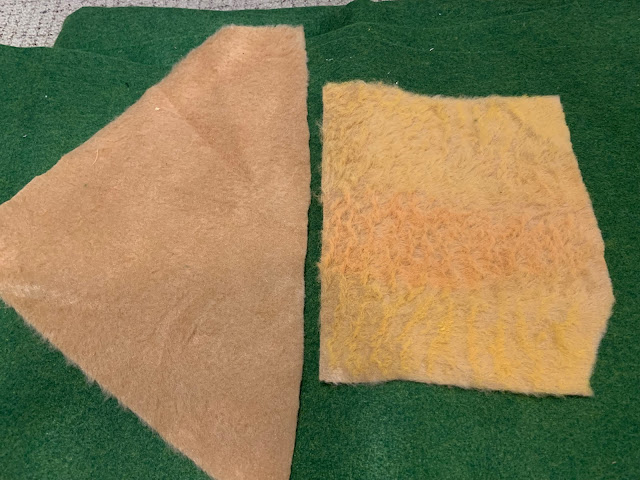 |
| Original color on the left, altered product on the right. |
But what you see above is all I had. And I've had that stuff for a few years. For love and ruin I could not find anymore. I went to 2 different Joanne's Fabric stores and didn't see what I wanted. yes I asked for help. If I'm a man in a fabric store I might as well go ALL IN and also ask for directions...
I could find fur there, for sure. They showed me where the fur was, but I wanted fur with really short hairs cuz I don't want to have to shave it. I told the lady that I like my teddy bear fur like I like my women's skirts, SHORT. She told me I was in the wrong store.
And then I had to leave.
I'm pretty sure I got it this original stuff from hobby lobby but can't quite remember and hobby lobby is a long drive away and I am low on time due to super family summer activities. I tried online and ordered:
 |
This is not quite the same thing as teddy bear fur.
but it's close.
Like a kiss on the cheek is close to a kiss on the mouth, but are very different.
|
Other online searches didn't really help either so had to settle for I got. All this has to be done by the end of August and I am not made of time. I am made of left over pizza and hotdogs.
Field Construction followed what every other tutorial ever said...
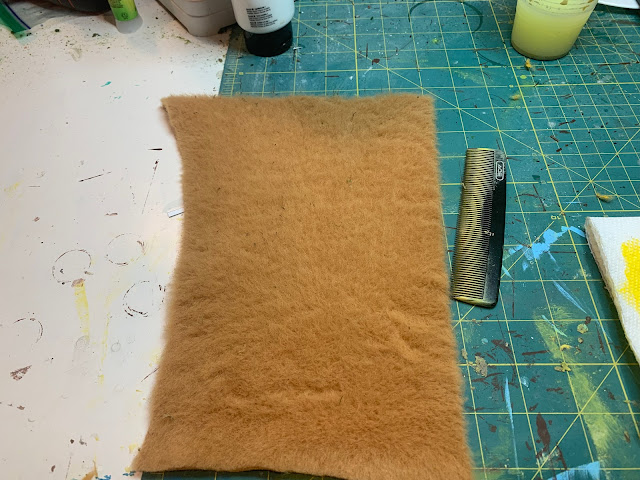 |
Cut the not-teddy bear fur into the shape you want,
then comb the hell out of it.
Comb it like the hair of your children when they won't sit still. |
 |
With wet-ish dry-ish brush, paint on the main color. I went with a bright yellow.
Wheat is yellow right? I dunno, I've never seen wheat that wasn't already bread.
Take the comb and comb the paint all throughout the not-fur-but-close-enough-to-fur. |
 |
I also added in some spots painted with a flesh tone,
to give some variation.
Again hit it hard with the comb. |
repeat process as many times as desired.
 |
taaadaaa!
If the text box doesn't show, the top right is the original color.
I added a burnt spot to one field just to see how it looked
by using black paint and not combing it out. |
All in All I actually think they came out pretty good in the end, despite being frustrating in the beginning, trying to nail down the proper materials. These are the right height for my 15/18mm miniatures at any rate and look very wheat field-ish to me.
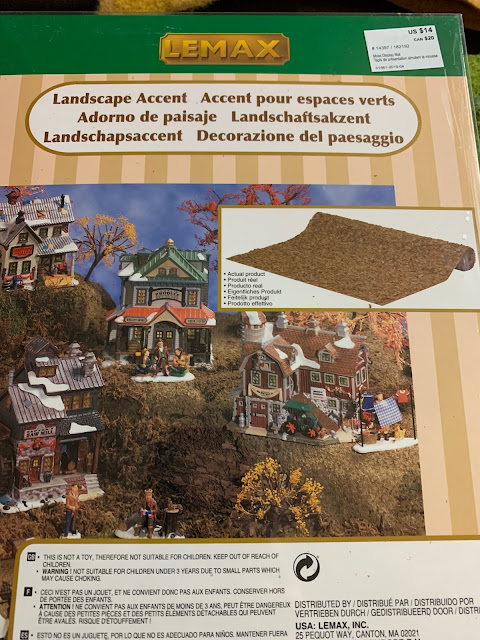
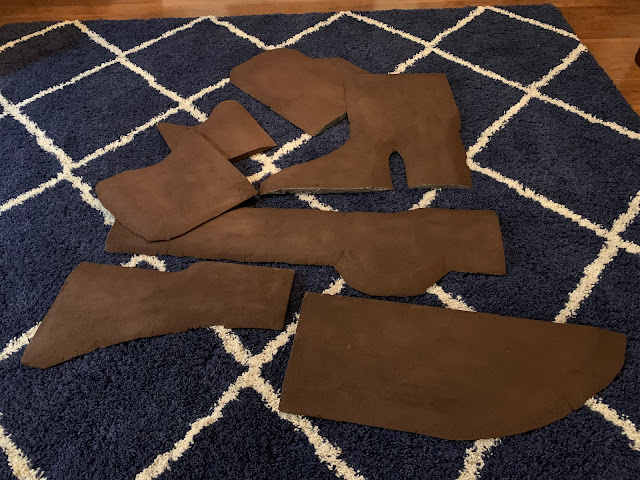
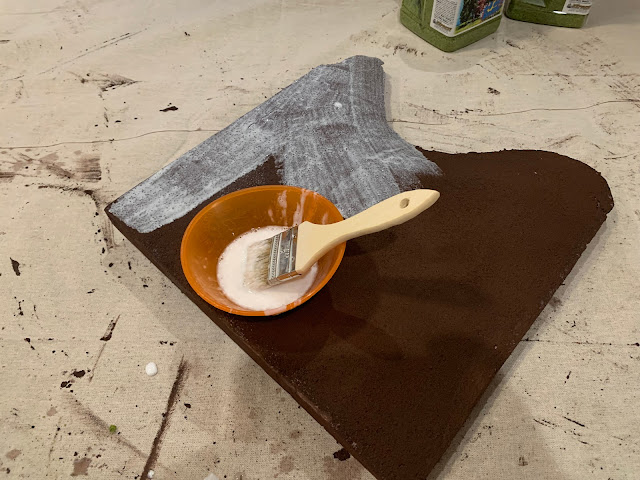
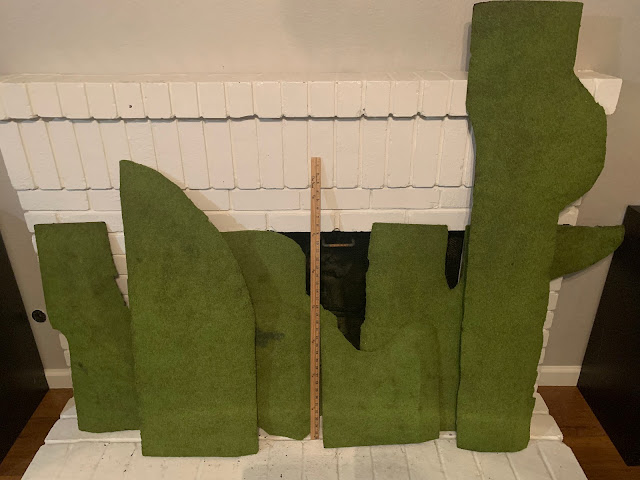
There's also a large field on the scenario map marked 'stubble.' For that field I am gonna use this material that I've been using for my corn field bases.
You can pick this stuff up at Michaels around Halloween. Be warned though, this stuff sheds like crazy. Sheds like the dog I'll never have.
I cut out a couple. It'll be nice to have just another texture on the battlefield.
Woods
Regimental Fire and Fury is one of the those rule sets that works better when areas that are Woods and Not-Woods are easy to see. Area terrain and Not-Area terrain. Lots of games work better that way, which is why lots of gamers use pieces of felt to define the edges of woods and put trees on it.
I'm gonna do the same thing basically, but hopefully in a slightly fancier way. It'll be like the difference between a plain black T shirt and black T-shirt that has a tuxedo print.
The scenario map shows two areas of woods: Sheads' Woods and Herbst Woods. There's also a couple of Groves / Orchards. These have to be flexible as they go up and down elevations.
I'm gonna use fabric as the base for the woods and orchards. As this has shown in test peices to be flexible even after the flock is glued on.
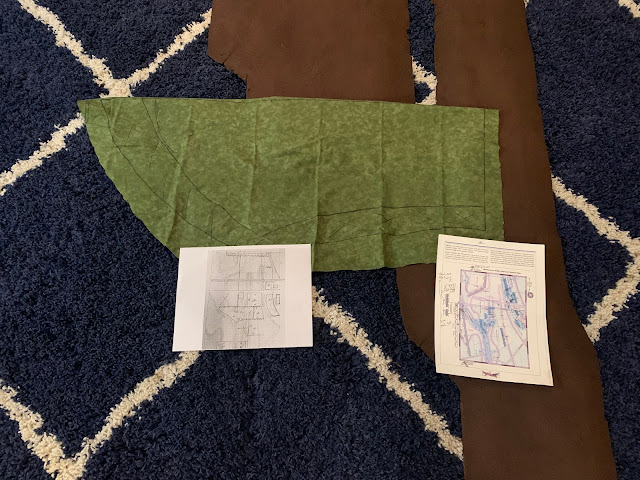 |
Test fitting the Herbst Woods.
|
Using the actual scenario map, and the one I drew up (see part 1, the Plan), I laid out the hills in the correct configuration and drew on the fabric with a sharpie where the woods would go. Herbst woods goes over West and East McPherson's ridges. The sharpie lines are hard to see in the pics I know.
 |
Sheads' Woods basically covers most of this terrain piece.
So I traced the shape on the fabric and inside that trace drew out the boundaries of the woods |
 |
I also traced an outline of Seminary Ridge
where a large orchard sits in front of the Seminary.
Man, I still got to paint the Seminary.... |
That was the hardest part; just trying to ensure that scenic features would fit well on the battlefield where they are supposed to go.
Then it was an easy matter of just painting the areaa with watered down glue.
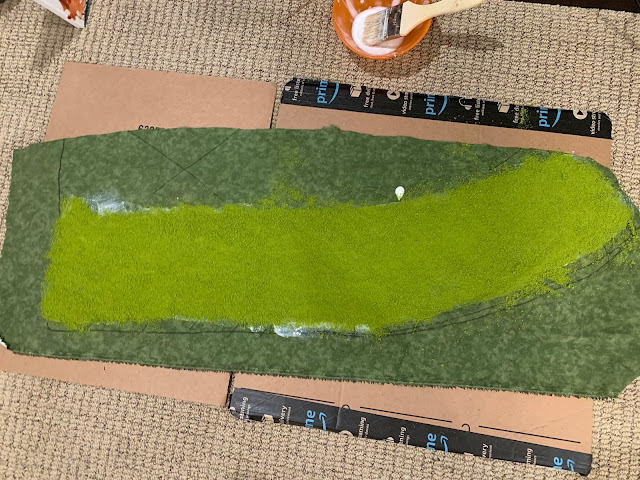 |
And then laying down the flock onto the glue.
I went with a light green for Orchards, and a dark green for woods. |
Leave this to dry which takes no time at all since here in the Sac area its a 104 degrees outside
every
single
day.
yes, I know I mentioned that already. It bears repeating: it's HOT.
.jpg) |
| Then you just cut it out. |
Pro-Tip that I saw ahead of time: You actually want to put the glue and flock slightly over the line / edge. It covers up the line of course but it's easy to guess at and it's much easier to cut, and ensures that the flock goes all the way to the end.
Pro-Tip I should of thought of: Put down some wax paper or something underneath the fabric bases. I didn't and they dried onto the cardboard and I had to rip them off.
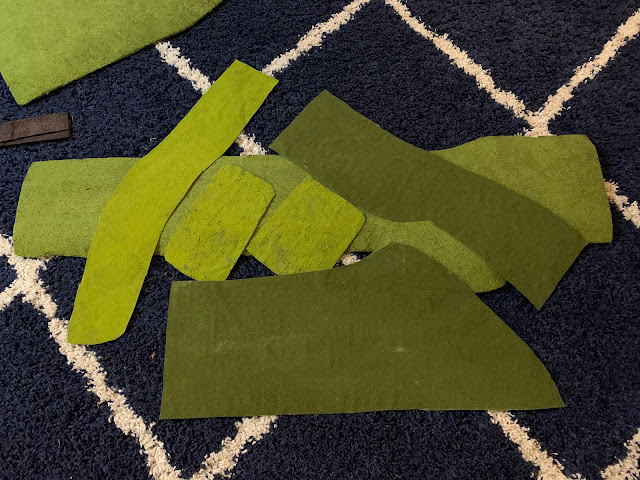 |
Two woods, 3 Orchards/Groves.
If there is time, I might spray them with some more glue and add a contrast color. |
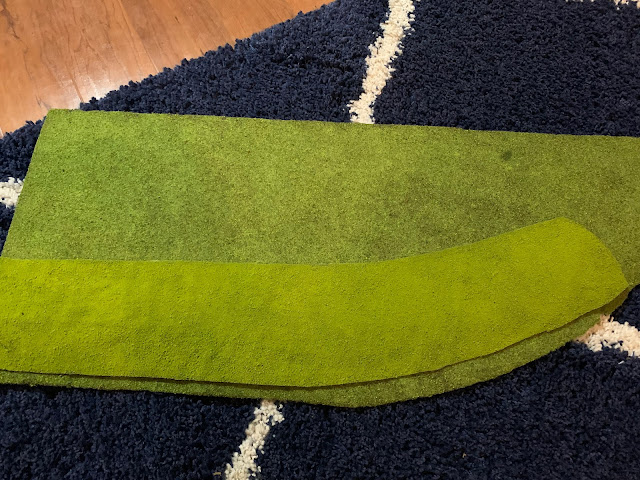 |
I'm pleased with the result.
The area is well defined but not a stark contrast with the base terrain. |
Is it more work than simply cutting out a piece of felt or whatever? certainly is.
Is it more fancy than a simple piece of felt or whatever? Slightly.
But maybe it's the little extra effort that goes a long way. Like brushing your teeth before you kiss your spouse.
Almost Done
I'm feeling the pressure of getting this all done for Pacificon in Sept. I feel like there are a lot of little things to do and not much time to do them. The next major steps are painting the buildings and making the stream that runs through the board. That's FORESHADOWING.
EDIT: The wait is over. next part can be found
HERE
And The Winner is...
Thanks to everyone who entered last weeks blog birthday giveaway. I made everyone's tickets and put them all in a big bowl. I went to my daughter #1 and said "here, pick one of these at random..." She said "why?" I said "just do it, it's for a contest." She said "I don't want to if I don't know what it's for."
/Sigh
I went to Son #2 and said "here, pick one of these at random..." He said "sure dad, here you go."
Favorite child status: achieved.
The winner is your favorite online friend and mine:
Ben Cato
Please email me so we can discuss.
Thanks for reading
Double thanks for writing a comment.
till Next time.


.jpg)


