Wednesday, January 31, 2018

Make like a tree...: Part 1


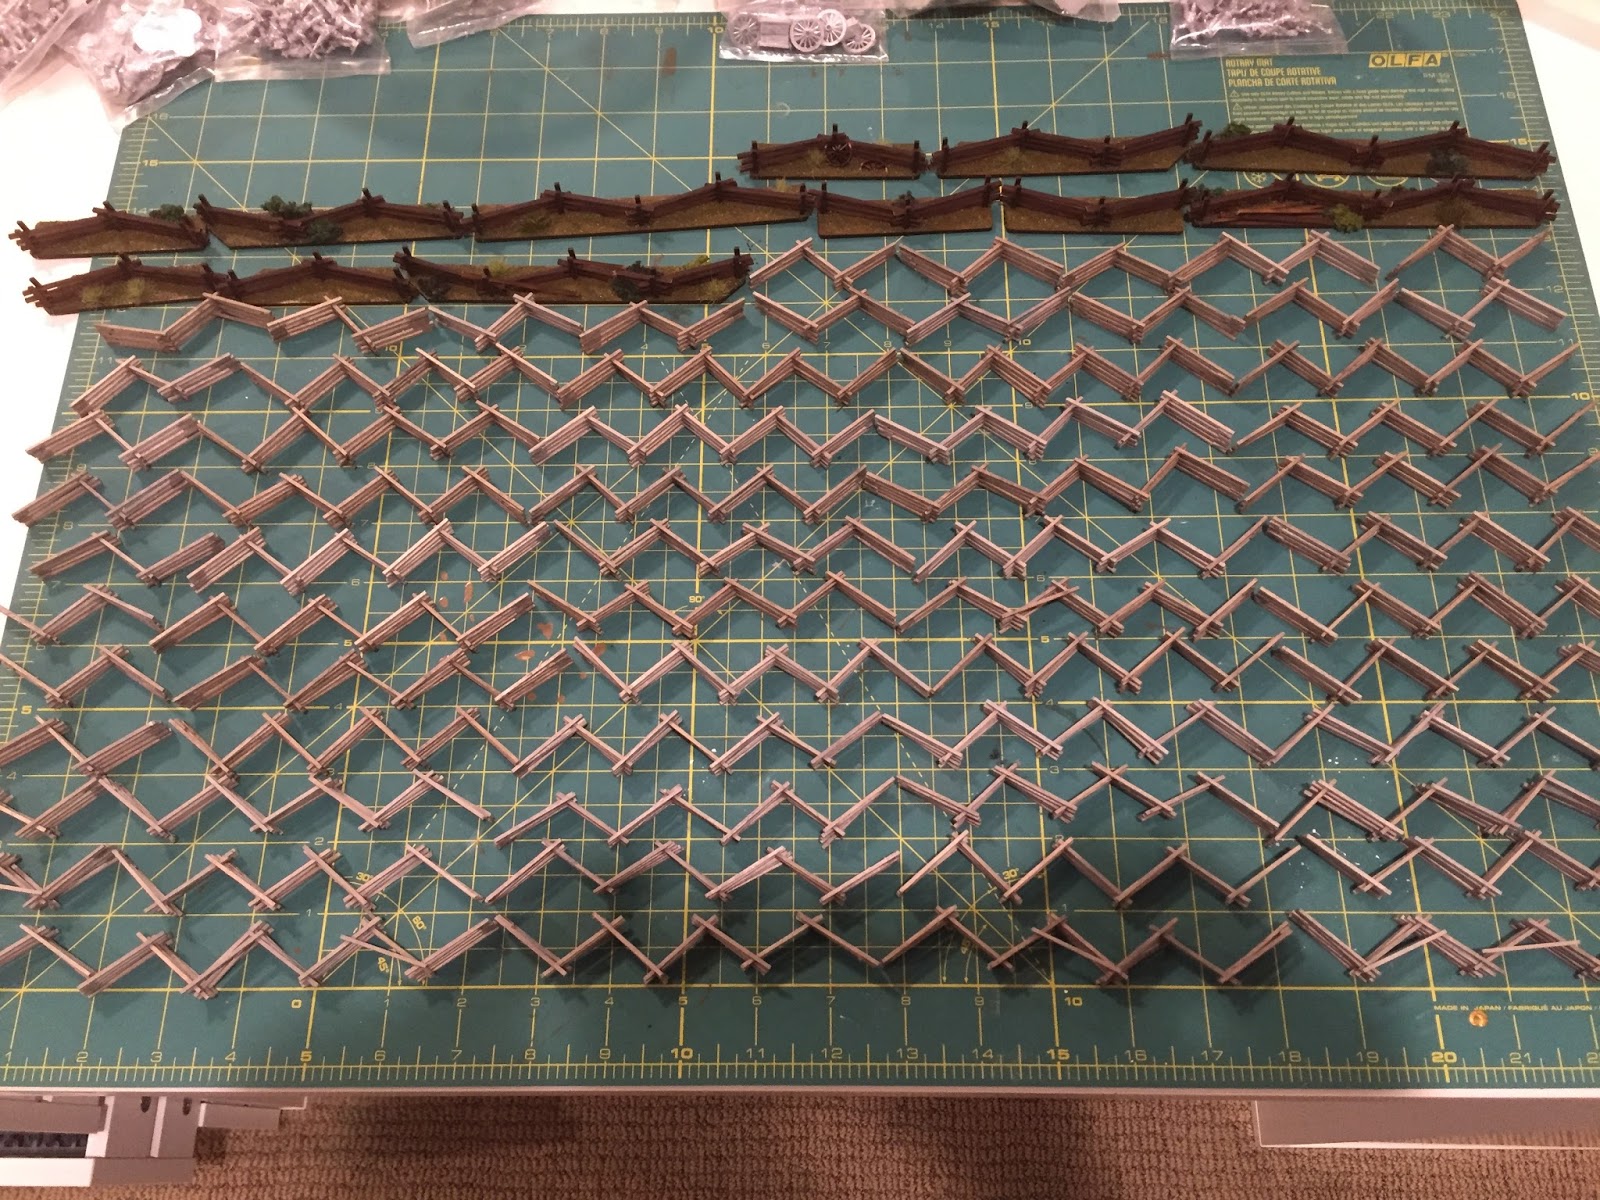
So in a continued effort to put off painting anything miniature related  I decided to emBARK (hehehe) on another terrain project now that the fences are done; Woods / trees.  Because just like fences, you can never have enough trees.


Actually this is something I've been meaning to do for awhile.  Many ACW battlefields have large areas dedicated to woods, and I just don't have enough trees prepared for the gaming table.  Also, I want something besides a whole TRUNK-load of individually based trees (hehehe, I did it again) because I don't want to have to place down or pick up the 30+ trees I would need.

Do Thy research and Make Thy Plan 

I really like the way MadMac (see his blog in the blog roll) did his large forest area in this Pickett's Charge Bat Rep, I like his method of using some sort of ground cover to define the boundaries of the wooded area, because then the woods can be placed anywhere and in any shape that I want just by putting down the ground cover, and the trees within it can be moved as needed.  Theoretically at least I could model any battlefield I want without having to tailor make bases with pieces of felt or whatever.  I still might go that route eventually, but for the mean time the more generic and applicable to all settings the better.  With that in mind I went to the internet to do some more research  to steal more good ideas from others and discovered these:

Terrain Tutor LINK

This Other Tutorial

As you can see; these gentlemen used CDs to make a large base holding a number of trees, and it looks pretty.  This seems to be a good idea, as then I can place down 10 CD bases with 3 trees each to make wooded areas rather than 30 separate trees.

SO the plan:  Find a ground cover material, use that to define the area / mark the boundaries of the woods, and place large bases of 3 trees and the singly based trees I already have to make it look pretty.

Gather Thy Materials

For the ground cover, I grabbed a tube of the Woodland Scenics ground cover "Earth Blend "  because it looked to be the right color for woods I was going for:  a sort of brown-green different enough from the wargame mat mostly-green color.  The I gathered some old computer CDs that I've had for years and years and gathered my tree pile into one place.  WHAT?  I can't be the only one who had both a tree pile and a lead pile?  These are all Woodland Scenic premade trees around 3-5" high, as this looks right to me for 15mm.  I considered going through my old music CDs and using those, but then I thought it would be too embarrassing to show what music I listened too.  


Not pictured: white foam board and the concrete patch that I use for basing.  I've used concrete patch instead of plaster because I like it's weight (it's heavy like, you know, concrete) and that it has a texture already so I can skip the step of gluing something like sand to the plaster to make texture.

Make Thy Tree Bases

let's begin:  I will LEAF nothing out (Ha!  the lame jokes continue). 

1) I took a hobby knife and cut out pieces of white board (or foam board, whatever you want to call it) to the size I wanted, and used the knife to angle to edges to 45 degress.  I'm using foam board to create the undulating ground as I think it's the right size for small elevations for 15/18mm figures.  It's also what I already had lying around AND I hate styrofoam.  

2) I took the knife and also cut cross hatch patterns into the surface of the CDs just to give the glue and concrete patch something more to grip.  Not sure this step was necessary but I'm used to doing it all the time.


3) Using just normal PVA glue (elmer's white glue) I then glued the pieces of foam board and the tree bases (WS trees come in two parts, the truck, branches, leaves, and the small little base) to the CDs.  I put 3 tree bases per CD.

This picture is at a weird angle in order to increase the artistic expression of the blog...
Be careful with knives, they can cut you...

4) You know what's next, I put the concrete patch on the CDs.  Now, this took a little more effort / time than I thought it would.  Maybe because this CD is technically the biggest base I've ever used and wasn't completely level.


Side discussion: Follow thy own advice...

SO, I spread the concrete patch on 2 of the CDs and was reaching for a third when I remembered something important:  when doing a new project like this, It's a good idea to go through all the steps and make 1 or 2 prototypes before going into mass production.  That way, if something comes up / doesn't quite work in the process you can modify it easily on later items instead of being stuck.  I did the same thing when I made the corn bases and was glad as I was able to get the colors right. 
So I stopped adding the concrete patch and went forward with just these 2 bases till completion.  

Moving on:

5) Let the bases dry, then one day when there is a 30min break in the rainy weather, prime black with spray paint primer.  let dry. 

6) paint and dry brush with whatever basing colors you use.  My basing paint scheme is usually Vallejo Flat Earth and dry brushed with Iraqi Sand.  

7) I mixed some of the ground cover flock with some of the wargame mat flock to (hopefully) create a mid tone... and add where you want, especially in places where you messed up dry brushing...

8) add the trees


Completed CD!

close up!  

Here's where I hit a snag...and glad that I've followed my own advice.  The first CD went together well enough but on the second, there was just no way that 3 trees were going to fit where I had the bases.  They were too close together.  Looking at the other 8 CDs I saw that this might be a consistent problem, so I went back with some wire cutters and took off the tree bases on the other CDs and re-glued them on again, this time with just 2 bases per CD.  This way there won't be an issue in the future, and it was a relatively easy fix because I hadn't put down the patch, paint, and flock yet.  Whew.


Just got to do something about that empty stump...


That ought to do, nothing hides a mistake like clump foliage!


So that's 2 CDs done.  8 more to go.  I also now have about 8 trees without a home, so I've decided that I'll base these singly.  This project is kinda large and takes up my hobby desk, so I think I'll need to focus on this until it's done before moving on to something else.

That's it for now.

"say hi to your mom for me"

Thanks for reading and appreciate comments!

Sunday, January 21, 2018

How much snake rail fence...


do you need to game ACW?  Any game in the East American countryside whether ACW or AWI will require LOTS of fences.

Fence Me!

As seen in the last post, a lot of ACW stuff has shown up at my house so I've been diligently diving into the packs and decided that I'd first tackle the fences.  Because building fences is easy and quick.  Just cut up a piece to make spacers for the ends, and glue the 'logs' down in a zig zag pattern.

I've been using BTC fence kits for awhile now and I like the way they turn out.  I decided not to put them on any bases, so in theory they could be put down on any color terrain.  Now the kit says it can made about 5 feet worth of fence but I've never gotten that much out of them, though I probably build mine higher and more zig-zaggy than normal.  is Zig-zaggy a word?  Maybe something more intelligent sounding like 'mine are made with a more pronounced Zig-zag."

No pics of the building process, it'd be too boring.

I make mine in either a short section of about 3" and a long of about 5".  The idea being that a combination of those 2 sizes can be make any length I might need.


The two lengths of fences (3" on right, 5" on the left) with a small 6 base unit for comparison. 

Over the last week or so at night while watching TV I've been building fences and I rather quickly went through the two packs that I ordered.  I didn't think to keep the new fences separate so I don't know how much was made just from those two packs, I just threw the completed sections in with previous built ones.  I think in total that I've probably assembled 6 of these fence kits in bursts over time, buying 1 or 2 here and there.  By the end of  this burst I was curious about how many feet of fence I had total so I laid them out for measurement. Seems like a handy thing to know;


I pushed back the pile of ACW miniature packages and laid out the fences end to end on the hobby desk

I also threw in some 4ground fences that I got from Dai when I bought his ACW stuff; these don't really match but I'll probably use them anyway, or maybe to differentiate a normal fence from a 'stout fence' if needed.

each length across the green mat is 2 feet long at least.  13 rows plus a half = 27 feet total!  That seems like a lot to me, though maybe not enough to build any battlefield I might ever want to.


And because 15/18mm is the best scale ever, it all fits into a small storage box!

Maybe hard to tell in this picture: This container is 6" by 10.5", and little less than 3" deep.  


Monday, January 15, 2018

Of men and mountains (of lead).


Time to start off 2018 properly...

halfway through the month and I've finally made it to a place where hobbying can begin again.  It took awhile to deconstruct Christmas at our house; and somehow we couldn't but all the holiday decorations back in the same number of  tubs we started with...funny how those things multiply when you let them out of the garage.... and as previously documented, the hobbyroom was converted to a bedroom while company was here, and when putting it back together it was a good time to do some additional house improvement tasks like adding some shelves to the walls and reorganise the closet.

and then everyone in the family had to take turns being sick...

but no matter, we're all on the mend now and it's time to take a break from playing Disney Princess Candyland with daughter number 1 (which is somehow a simplified version of the original candyland, though how it could be more simple I am stumped) to write a post about proper wargaming.  

The Postman cometh, and the lead pile growth. 

So while there hasn't been a lot of proper gaming in the new year, there has been a lot of packages arriving in the mail for little ol' me.  The end and beginning of the year tend to be a harvest season for me, because I am one of those lucky people whose birthday is right after Christmas, so I tend to get double gifts.  And through the years, I have trained my family and inlaws well....
First to FINALLY arrive (I say finally because I got an email saying it shipped on December 5th and over a month later it showed up)  was the MW special on 1066.  


Quick side note: I was very disappointed in this issue.  Previous Specials have been great, but I found this one to be BORING, and you would think with 'battle of hastings' on the cover there would be more about the actual battle and at least a halfway decent map... Maybe it's because I already know about this subject that it's typical readers digest history was unimpressive...I dunno.  BUT it did remind me that I love  Dark Age battles.  I've often thought about doing a scenario based on Hastings but I need some more Norman infantry completed before it can seriously get off the ground...not to mention all those other Normans, Vikings, and Saxons.  Now where'd did I put them...

oh here they are, hiding in the drawers of the hobbydesk...

a whole drawer of Gripping Beast Dark Ages Miniatures...


and a whole other drawer of mostly Conquest Miniatures Normans hiding in the garage....
I shudder to think how many miniatures there are in those 2 pics just lying around waiting to be done.  Maybe one day I'll show photos of what dark age miniatures are painted so it won't seem so terrible in comparison.  But this brings me to an important point:

this is all wasted money.  Some of those sprues have been waiting around for years for me to get to them.  Now they serve as a warning about buying large amounts of miniatures at once.  DON'T DO IT!  you'll never paint them all before you go off unto another period /genre and then it's a waste.  Always factor into the price of a miniature the time it will take to paint and store it.  It's one thing to have large armies of painted figures that you can pull out and play with whenever; it's another thing to have a mountain of plastic and lead and a backlog of projects that you might get to 'one day.'
and people will tell themselves "well if I just focus on that one genre for the year I'll get it all done!!!"  and then we all laugh because that never happens....

These days I try to stick to smaller purchases so that piles like this are less likely to happen.

but those are old lead hills and this is about the post is supposed to be about  new stuff:

Next to arrive was some ACW terrain from Battlefield Terrain Concepts:


If I'm ever gonna do an ACW scenario on the Cornfield at Antietam or maybe Little Round Top I need some Hasty Works / quick entrenchments; so I got x2 of their HastyWorks sets of logs and earth as I thought that would work for almost anything, and it's good generic terrain.   I also got x2 of the 15mm Snake Rail Fence kits.  You can never have enough snake rail fences....NEVER!  and I like to build the fence myself because I like it to be a particular height  that I think looks nice with my ACW infantry.  Building the fence is not hard and I can do it while watching TV.


So Never mind what I just said; Here's another mountain...

There are of course, exceptions to all rules and here's one: gift cards.  Then it's NOT your money your wasting if you buy something and never paint it; and the company already has the cash so you might as well spend EVERY LAST penny.  This year my family and in-laws polled together and for Christmas and my birthday all chipped in for a gift card to Old Glory Miniatures.  Didn't I say they were all well trained?  (I might of dropped some hints to the wife, "you know where I'm getting a bunch of miniatures from?  Old Glory Miniatures.  Old Glory like the flag you know, that's Old Glory."  "Oh look, I got a package from Old Glory Miniatures last month and I really like the ACW figures from Old Glory.."  

Anyway they all chipped in with an attitude of 'you're a sweet guy, go get yourself something nice..' and since I had an Old Glory Army Membership for an 40% off each pack I went ahead and just start putting my ACW wish list into the shopping cart until the total reached the gift card amount...and this is what arrived a little later


25 items in this order, the box was a little heavy.
All of my ACW collection are from the Blue Moon range, and this order will round it out with a  grand total of:

x2 limbers (with horses)
x2 Cassions
x2 Limbers (no horses)
x2 extra limber horses
        -basically enough stuff to make 16 limbers for the Artillery
x1 Union Officers
x2 Union Standard Bearers
x2 Union infantry advancing
x2 Union infantry firing line
x1 Haysacks
x2 Confederate infantry advancing
x2 Confederate infantry firing line
x1 Union dead and wounded
x1 Confederate dead and wounded
x1 dead horses (morbid!)
x2 2-wheeled ambulances

So the ACW lead pile has gotten way bigger; in total with what I already had I now have the stock to add 80 more bases of infantry, 20 more command bases, 16 limbers, and a ton of assorted markers.

I best get painting....


Friday, January 5, 2018

AoS game; Cannons in the Caribbean brief ARR


Last game of the year 2017!! 


on December 30th, the SHMWClub had an AoS game hosted by Mr. W, and I was actually able to attend!  I was very motivated to because 1) it's an AoS game and I love'em and 2) even though I've been a part of this club for like 6 months I've never attended any club function.  So I wanted to go and meet some new people and see and be seen by others so I'm not just a name on the email list....

(even then, it was a close run thing as Daughter #1 got invited to a bday party for that day and the wife started to cough / display symptoms of sickness a day or 2 before...)

Turns out that I knew 3 of the six other people there, was greeted warmly, and was immediately recruited onto the French team due to (i'm assuming), my daring-do, my panache, and my love of strong cheeses and pastries.

The Game set up:

I believe the rules were "close action; Serpent of the Seas" modified to NOT use hexes.  The ships were 1/2400 scale I believe; they were small.  

The Host of the game had a very historical situation set in the late 18 century during the Quasi-war that I will now distill down to the brass tacks and iron cannon balls: a French coastal city in the Caribbean has been taken over by the local dirty peasants who have over thrown their rightful French rulers AND to make things worse; taken over the shore batteries.  A squadron of American ships blockades the port to deter any glorious French reinforcements.  My mates and I played the part of the glorious French reinforcements.  The objectives: silence all the batteries in order to land boats full of stunning French Marines to secure the town.  the main Objective is to secure the town; sinking or getting the cowardly American ships to strike are of secondary importance.

All quiet in the harbor.  too quiet.  The Americans suspect nothing...


Sail on the Horizon!  Surprise!  here come the French!  My ships are circled in yellow.  


The French plan of attack shown in red.  The blue arrow is the direction of the wind.  


These were not Ships of the Line.  The French has mostly corvettes (smaller than frigates) and sloops (smaller than corvettes) and 2 or 3 light frigates.  I had 2 corvettes.  I'm not sure what the Americans had in total but they the did have the Constitution, a heavy frigate and the best in the world, able to outgun and out sail of our light frigates put together....

The rules used simultaneous movement, which is great for surprise maneuvers but hard for ships to sail in line ahead, so things became confused quickly!

The Game

Paying attention to what I was doing more than anyone else; and I basically followed the plan of attack because i can always be counted on to follow orders!

My first ship, the 'Diligente'  a small corvette in the lead of the leeward squadron tried to run behind some Americans but got caught by some surprise moves by the dastardly enemy and wound up heavily damaged.  It did carry out the plan and fired one broadside at the far battery before striking due to her damage.  I'm going to call that the 'learning curve' ship and highlights something I think is important in AoS games: give people 2 ships!  that way, when 1 is taken out of the fight either by big mistakes or (un)lucky damage rolls, then there's still one to play with.


My second ship (3rd in line in the windward squadron) the "Berceau" was more successful.  I ran down the coast keeping the weather gauge, and pulled off a neat move; the Americans trying to block the move couldn;t as they had to turn into the wind.  I was able to fire a raking broadside at the amateur Americans and fire at the coastal battery before continuing into the harbor.


How'd my ship end up out in front?  stellar seamanship is how.  : ) 


My first ship, circled in yellow, strikes after receiving a rake, but my second continues into the harbor and the objective.

The shore batteries, being manned by unskilled rebels, weren't much of a threat but were able to do minor damage with each shot. I stood off just outside the harbor and engaged the battery defending there before attempting to launch my boat full of glorious marines.  I was chased into the harbor by an American ship and it was an uneven match; he was doing about x2 the damage to me than I was to him; I tacked in the harbor and he followed...


and that was several hours of play and that's where we called the game as people had to leave.
French lose as we failed to take the town, but we did silence 2 batteries and the 3rd was juuuuuust about to be abandoned.  I'll give myself a morale victory for sticking to the objective AND actually making it into the bay.


Overall: a very enjoyable game and I picked the rules up enough to do better next time.  Thanks Mr. W. for hosting it and I was glad to make an official club meeting.  It was nice meeting the new people.  Hopefully it won't be another 6 months before I am able to again!  really made me want to put my ships out on the table soon!