Friday, August 25, 2023

McPherson's Ridge Complete


Oh that the ACW, 
is the best CW,
by now I've convinced you.
The ACW
the BEST CW
time for the last ACW,
the end of the ACW,
with your friend of the ACW,
its the end of the ACW
ACW time with Stew.
(that's me).


McPherson's Ridge Complete


Everything being done, it's time to get it all onto the table and see how it looks.  Time to see if all these disparate pieces made individually will come together as a whole.   

I did some mental gymnastics to lower my expectations; because nothing in reality really matches the images you have in your head.  reality always lets you down.  Like I have this idea of how I look in my head and then I see myself naked in the mirror......


As this is the end result of 3 months of hobby dedication, you'll forgive me in advance for the large picture barrage...


McPherson's Ridge


Previous part can be seen HERE

And here we go: 

Whole table.

Taaaah-daaaaah!


The scenario is set on a 5' by 7' table, so I set up 3 of my folding tables for a 6' by 7.5' which gave me some room on the sides.


One end of the table.


This is the side that the CSA will be attacking from.


The forest bases and fields do drape nicely over the hills.


I'm pleased that the railways cut (on left) and the road (on right) look suitably different. 


Seminary Ridge with the Lutheran Seminary and Thompson House.
The Thompson house later served as Lee's HQ.


East McPherson's ridge running down the center.
West McPherson's ridge has the the McPherson Farm marked by the barn.


Herbst Woods butting up to the Willoughby Run (the stream)


I'm pleased with rolling hills effect.


I'm pleased that the wheat fields look decent.


Whole table again from an artistic slant angle...


Lets add troops! 


Naturally I wasn't going to set all this up and not do anything with it.  That would be like getting dressed up to watch TV.  So on a Friday, at the stroke of noon, the wife went to pick up the kids from school, taking with her the destructive 2 year old, and my friend CG came over to play a game.  We can do this because I have Fridays off and CG is retired so time means nothing to him.  


We played the scenario that takes place in the morning. where two CSA brigades are attacking while the union has 2 brigades from the first Corps arriving.  


Scenario set up pics


As the scenario starts, On the Union side, The Iron Brigade is in the process
 of deploying behind Herbst woods. 


Meanwhile on the Confederate side,
Arher's brigade is poised in front of Herbst woods.


Naturally they collided.


The above photo also illustrates well why I went through the trouble of making a base for the area of woods.  Half way through the game and the trees have been moved, the fences jostled out of position, but by the darker green players still know where the woods begin and end. 


I just think this is a pretty picture.


That's enough pictures.  You get the idea; I made table and played a game on it.  


Actually, I'm gonna play TWO games on it.  I cashed in even more hubby points to have my buddy AS over to play again not even a week later.  We played on a Thursday morning while the kids were at school.  We can do this because I have thursdays off, and AS is retired so time ALSO means nothing to him.  

Second Game set up.
The same scenario again


The Seminary catches the morning light


I won't labor you with a ton of pics.  
well alright, a few more.

CSA on the attack.


The Iron brigade smashing in with a counter attack.


Conclusions:


I think the table looks nice.  Damn nice.  Not jaw droppingly gorgeous like I am (as I see myself in my head), but very good.  Could use more trees and fences.  WHY DO I ALWAYS NEED MORE TREES AND FENCES???!!!!    Definitely good enough for people to come by and take pictures while at a convention.  


This was my first attempt at making 'a table' versus 'a terrain piece,' if you get my meaning. I enjoyed the process.  There is more that I would do for it but I'm basically out of time.  Pacificon is the first weekend in September.  Plus, I had to post some pics for Dave Stones Terrain challenge.

Though I'm gonna have to trot this out several times, to conventions and club games to make sure I get enough appreciation and attention.  Wait, I don't mean appreciation and attention, that makes me sound vain and shallow.  

But yeah, I mean appreciation and attention.  


Speaking of Conclusions:


As alluded to in the above text, summer is over and school is here.  Now I get back my nights as the children will have to go the bed on time. 

To wrap up summer we had our traditional family water balloon fight in our backyard.  
We call it fight, but it's mostly the kids throwing balloons at me while the wife takes pictures. 


Son #3 was mostly happy just messing with the balloons


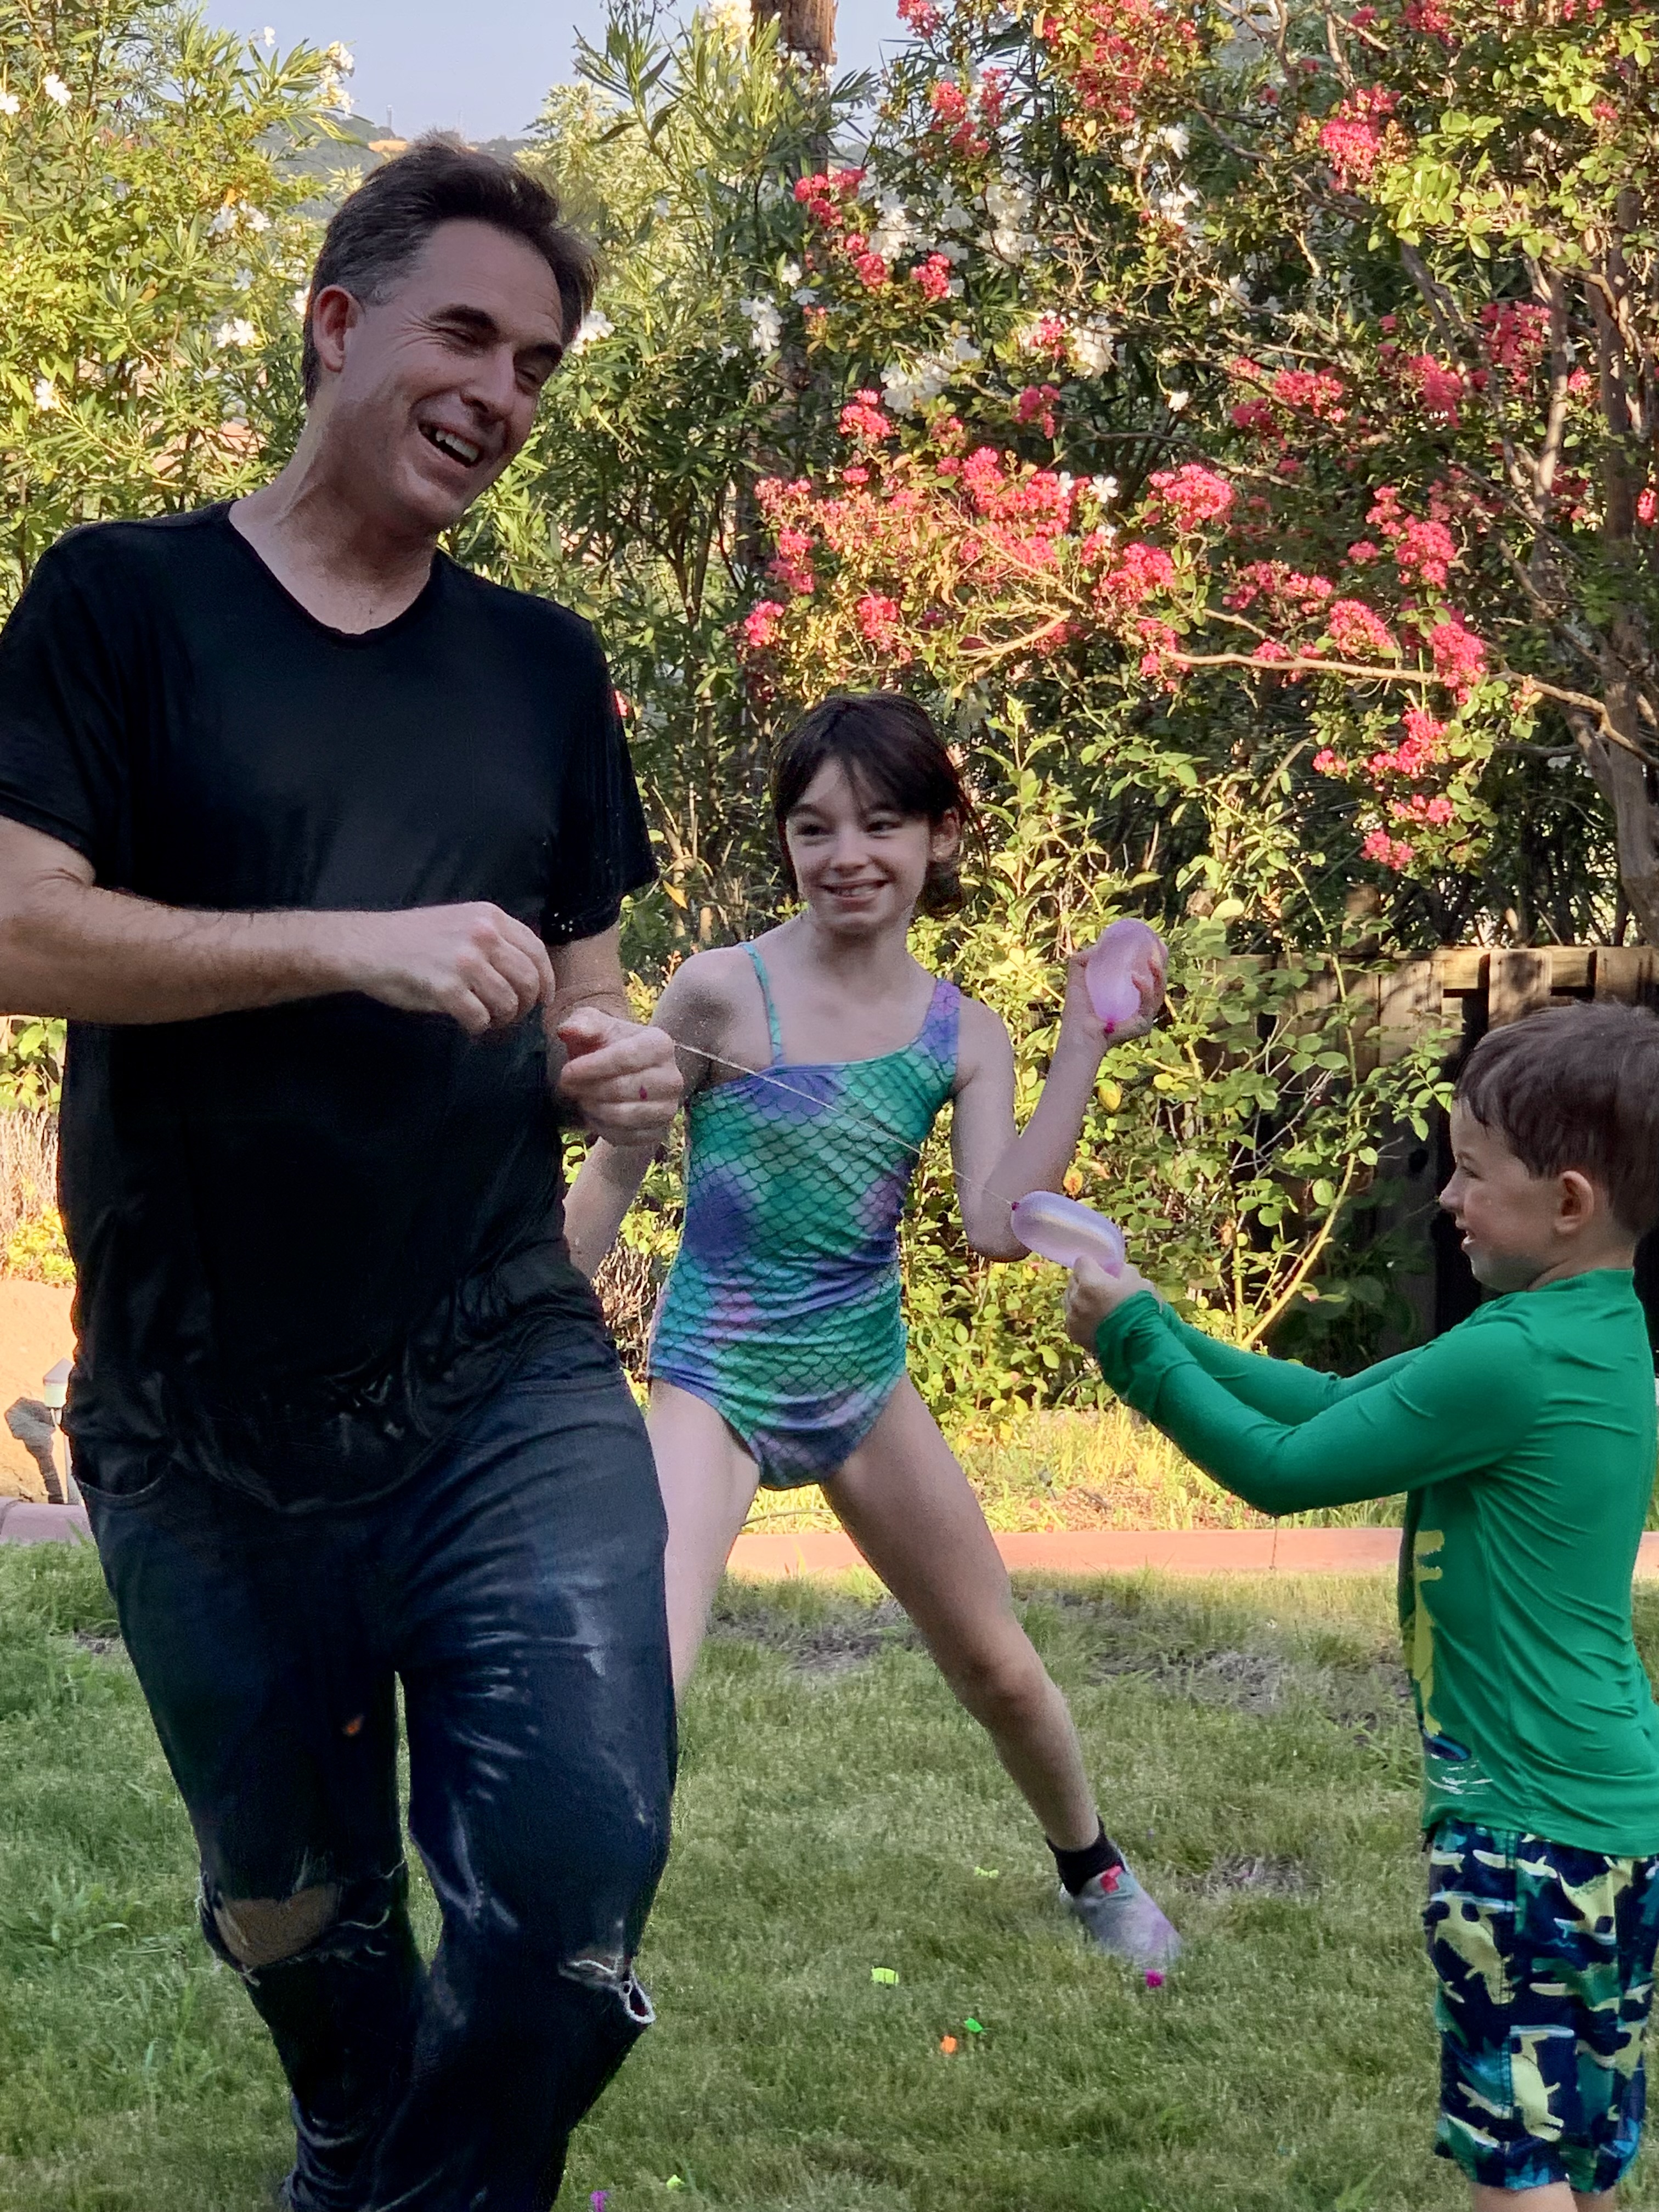
Son #2 and Daughter #1 were smart enough to change into swim wear.
I was all "you guys aren't even gonna hit me, I'm too fast too furious, I don't need to change..."


Everyone had fun and the kids didn't even complain when we had to pick up all the balloon scraps.


Thanks for Reading
Doable thanks for writing a comment.
Till next time.

Thursday, August 17, 2023

McPherson's ridge part 6 (The Seminary and The Stream)

Yes the ACW,
is the best CW
come on now and get a clue,
that the ACW
is the best CW
before we bid these posts Adieu.


Even More McPherson's Ridge


Even closer to the end now.  Then all shall be revealed in a upcoming glorious post.  Soon,
Very soon.  Which is the very same thing that I tell my spouse when she asks about lingering home projects.  

But for now, here are the last 2 required pieces for the battlefield.  
previous post can be seen HERE


Required Seminary


The first time I typed Semenary instead of Seminary.  I'm Hilarious, even when not trying to be.  And sophisticated humor as always.  

On Seminary Ridge sits the (now famous landmark) Lutheran Seminary.  It's a building that everyone recognizes and just screams out "GETTYSBURG, Gettysburg battle here!" 
I've had this huge hunk of resin sitting on my desk and on my to-do list for a long time now.  I got it from Noble Knights Games but I don't know who manufactures it.  

front view

I should of tackled it back when I wasn't on a time crunch, because it took forever to finish.  Why?  because of the damn windows.  Why are there so many windows?  Shouldn't people be studying instead of looking out at the world?  My office doesn't even have a window.  There are 73 windows on this building which is about 71 too many in my opinion. My own house only has 8 and one of those is broken.  

Rear view


Side

Preview of how it will sit on the battlefield.
Miniatures are 15/18mm.

Imagine how cool this would look
If I had a fancy backdrop like a real blogger would...


I'm liking the way it came out in the end and it's a pretty cool resin building.  I had no issues in painting it or flocking the giant base it came on.  unlike the next item...


River of Woe


The McPherson ridge battlefield has a steam that runs through it. I wanted to upgrade the streams / rivers that I use for my ACW (the best CW) games.  Previously, I just laid out some clear acetate that was painted blue on the bottom. 

Like so.
Stream made of plastic.
From some previous game of Barlow's Knoll.


It's alright, it's versatile, but I think I can do I better.  I can tryout an upgrade and if it doesn't work I can come running back to this previous method.  Like in some stupid movie where the guy dumps his girlfriend to get someone hotter, only to be shot down and come crawling back.  I'm sure you know what movie I am talking about.  It's called "Stew's stupid mistakes from long ago."


I was keen to try out a method that I saw online from Little Wars TV,  used in their ACW (the best CW) games.  It's only a 4 minute video, and pretty simple so I think even an idiot like me couldn't screw it up...

Mistakes were made.

On a weekend when the wife and daughter were away at camp, and I was home alone with the boys; I started that night. 

It was an EPIC boy's weekend by the way.  We went out drinking (juice boxes at the park).  We stayed up super late (watching dinosaur movies).  We went out to where all the women are at (which is Target, and they have their own kids).  And at night I laid myself some caulk.  So it was just like being in my 20s again.  


First mistake was that I forgot how to use a caulking a gun and made a big mess.  After some internet research I learned that I forgot to puncture the seal in the caulking tube.  
Don't laugh at me.  I've never been very handy.  Which is why I have all those lingering house projects that I'm always saying that I'll get to...

Finally, on some wax paper, I laid out the shape of the steam with some caulk that dries clear (as seen above),.  I wanted one long river piece.  


Second mistake: I left that out to dry overnight thinking that I would just get up before the boys and clean it up.  The next morning it was NOT dry.  And while I was standing sipping my coffee grumbling, I heard the boys behind me. Telling them not to touch it, we went about our business.

And naturally while I was in the bathroom the 2 year old, who could not resist the temptation of a table being in the middle of the room, climbed up tore the whole thing down......


So now I have 2 river pieces....


I took the caulk and laid it out in the sun, thinking that some hot weather would dry the stuff since it's a hundred degrees outside 
                                                      every
                                                             single
                                                                    day.  
It was a chance for that hellscape known as outside to work for me for once.


The next steps as shown in terrain video are that you peel the clear caulk off the wax paper and paint the underside.  For the life of me, I could not get the caulk to come off the wax paper, it was all fused together.  I blame the sun.  

FINE.  I'll adapt the process.  


Leaving the caulk on the wax paper, I trimmed it down to about an inch wide.  I then painted the top of it blue and then glued the strips down to some brown felt. let that dry overnight.
I know there are more realistic water colors than blue but I like my water blue.  Blue like open skies, my lover's eyes, like the feeling I get when I think of you.


Next, using a hot glue gun because I thought it would stick to felt better, I stuck a bunch of clump foliage along the edge, and then trimmed the felt back. Starting to look more like a stream now.  


Lastly, I gave the parts that are supposed to be wet a liberal coating of Mod Podge to make a glossy covering.


The end result.


With some troops next to it.


Overall, I'm 75% satisfied with it.  There are things I would do differently in the future if I were ever do this again.   Seems like a lot of work for just a modest upgrade in appearance. 
Maybe it'll look better on the table and surrounded by other terrain to help set the scene and I'll like it more.  Right now it kinda looks like a homemade art project.  Which of course it is.  

in the future I might just purchase some rivers.  But I also want the ability to have rivers in the size and shape that I want.


Done Enough


Now that I have everything for the battlefield that is required, it's time to set it all up and see if I have done enough.  Which will be next time.  This post has already done enough as well.


The finale of the project can be seen HERE

Thanks for reading.
Double thanks for any comments.
Till Next time.

Wednesday, July 26, 2023

McPherson's Ridge Part 5 (The Fields and Woods)


OOOOOOOOOOOoooooooHH,
The ACW
is the BEST CW,
by now, you already knew.
Since the ACW
is the best CW,
go on and buy a few! 
(hundred miniatures).


Now we're getting close to finally finishing this song, and the battlefield. Not sure which is more important.  


Even More McPherson's Ridge


With the elevations complete the general landscape had been formed, as seen here in part FOUR
Now it's time to get some things to put on top of that landscape.  'The hills are alive' with adequately painted miniatures and terrain.


Railway Bed


Cutting through the board is an unfinished railway, so I needed a track bed.  My idea was to make this visually different from a road but since there aren't any tracks on it, it's basically a road. 

Notice the creases, I didn't think they would matter.


The track doesn't need to be flexible as it just cuts through all the hills like a hot knife through butter or my wife through my bullsh...  anyway it just goes straight across.  The battlefield is 5 feet across so I took my heavy felt and cut two strips 2" wide and 30" long.  (30 + 30 is 60 and 60" is 5 feet. Don't question me maths).


I gave the strips a liberal coating of watered down white glue and then coffee grounds from cheapo decafe coffee that NO ONE should be drinking anyway.  

Let dry thoroughly which only took about 10 mins because here in the Sacramento area it is 104 degrees outside
every
single
day.


Dammit, you can still see the creases.
Next time I'll have to iron it.
but it's risky to remind the wife that I know how to use an iron.


Lastly, the things were primed with black and then given various dry brushes of browns and what not.
Came out OK in the end.  I don't LOVE them like I love a good tax refund, but acceptable.  And I gots to move on as I am on a deadline here.


Fields of Frustration


The battlefield is covered in several wheat fields.  I'm not really interested in getting every field and fence shown on the scenario map, especially since wheat fields don't affect game play.  I just need enough to look pretty.  Like someone wearing juuuuust the right amount of make up.  

I've seen some cool fields made out of teddy bear fur, so I wanted to give that technique a try.  For a good walk through of the process you can do no better than this ONE from our online friend The Tactical Painter.  


As seen way back in part 3 of this build, as no doubt you have committed the whole post to memory because of it's awesomeness, I've already played around with the scraps of teddy bear fur I had...

Original color on the left, altered product on the right.


But what you see above is all I had.  And I've had that stuff for a few years.  For love and ruin I could not find anymore.  I went to 2 different Joanne's Fabric stores and didn't see what I wanted.  yes I asked for help.  If I'm a man in a fabric store I might as well go ALL IN and also ask for directions...
I could find fur there, for sure.  They showed me where the fur was, but I wanted fur with really short hairs cuz I don't want to have to shave it.  I told the lady that I like my teddy bear fur like I like my women's skirts, SHORT.  She told me I was in the wrong store.
And then I had to leave.


I'm pretty sure I got it this original stuff from hobby lobby but can't quite remember and hobby lobby is  a long drive away and I am low on time due to super family summer activities.  I tried online and ordered: 

This is not quite the same thing as teddy bear fur.
but it's close.
Like a kiss on the cheek is close to a kiss on the mouth, but are very different.


Other online searches didn't really help either so had to settle for I got.  All this has to be done by the end of August and I am not made of time.  I am made of left over pizza and hotdogs.


Field Construction followed what every other tutorial ever said...

Cut the not-teddy bear fur into the shape you want,
then comb the hell out of it.
Comb it like the hair of your children when they won't sit still.


With wet-ish dry-ish brush, paint on the main color.  I went with a bright yellow.
Wheat is yellow right?  I dunno, I've never seen wheat that wasn't already bread.
Take the comb and comb the paint all throughout the not-fur-but-close-enough-to-fur.


I also added in some spots painted with a flesh tone,
to give some variation.
Again hit it hard with the comb. 


repeat process as many times as desired.  


taaadaaa!
If the text box doesn't show, the top right is the original color.
I added a burnt spot to one field just to see how it looked
by using black paint and not combing it out.


All in All I actually think they came out pretty good in the end, despite being frustrating in the beginning, trying to nail down the proper materials.  These are the right height for my 15/18mm miniatures at any rate and look very wheat field-ish to me.


There's also a large field on the scenario map marked 'stubble.'  For that field I am gonna use this material that I've been using for my corn field bases.


You can pick this stuff up at Michaels around Halloween. Be warned though, this stuff sheds like crazy.  Sheds like the dog I'll never have.  


I cut out a couple.   It'll be nice to have just another texture on the battlefield. 


Woods


Regimental Fire and Fury is one of the those rule sets that works better when areas that are Woods and Not-Woods are easy to see.  Area terrain and Not-Area terrain.  Lots of games work better that way, which is why lots of gamers use pieces of felt to define the edges of woods and put trees on it.  
I'm gonna do the same thing basically, but hopefully in a slightly fancier way.  It'll be like the difference between a plain black T shirt and black T-shirt that has a tuxedo print.  

The scenario map shows two areas of woods: Sheads' Woods and Herbst Woods.  There's also a couple of Groves / Orchards.  These have to be flexible as they go up and down elevations.  

I'm gonna use fabric as the base for the woods and orchards.  As this has shown in test peices to be flexible even after the flock is glued on.  

Test fitting the Herbst Woods.


Using the actual scenario map, and the one I drew up (see part 1, the Plan), I laid out the hills in the correct configuration and drew on the fabric with a sharpie where the woods would go.  Herbst woods goes over West and East McPherson's ridges.  The sharpie lines are hard to see in the pics I know.


Sheads' Woods basically covers most of this terrain piece.
So I traced the shape on the fabric and inside that trace drew out the boundaries of the woods


I also traced an outline of Seminary Ridge
where a large orchard sits in front of the Seminary.

Man, I still got to paint the Seminary....

That was the hardest part; just trying to ensure that scenic features would fit well on the battlefield where they are supposed to go.  


Then it was an easy matter of just painting the areaa with watered down glue.


And then laying down the flock onto the glue.
I went with a light green for Orchards, and a dark green for woods.


Leave this to dry which takes no time at all since here in the Sac area its a 104 degrees outside
every
single
day.

yes, I know I mentioned that already.  It bears repeating: it's HOT.


Then you just cut it out.


Pro-Tip that I saw ahead of time: You actually want to put the glue and flock slightly over the line / edge.  It covers up the line of course but it's easy to guess at and it's much easier to cut, and ensures that the flock goes all the way to the end.

Pro-Tip I should of thought of: Put down some wax paper or something underneath the fabric bases.  I didn't and they dried onto the cardboard and I had to rip them off.  


Two woods, 3 Orchards/Groves.
If there is time, I might spray them with some more glue and add a contrast color.


I'm pleased with the result.
The area is well defined but not a stark contrast with the base terrain.


Is it more work than simply cutting out a piece of felt or whatever?  certainly is.
Is it more fancy than a simple piece of felt or whatever? Slightly.  
But maybe it's the little extra effort that goes a long way.  Like brushing your teeth before you kiss your spouse.


Almost Done


I'm feeling the pressure of getting this all done for Pacificon in Sept.  I feel like there are a lot of little things to do and not much time to do them. The next major steps are painting the buildings and making the stream that runs through the board.   That's FORESHADOWING.  

EDIT: The wait is over.  next part can be found HERE


And The Winner is...


Thanks to everyone who entered last weeks blog birthday giveaway.  I made everyone's tickets and put them all in a big bowl.  I went to my daughter #1 and said "here, pick one of these at random..."  She said "why?"  I said "just do it, it's for a contest."  She said "I don't want to if I don't know what it's for."  

/Sigh

I went to Son #2 and said "here, pick one of these at random..."  He said "sure dad, here you go."  
Favorite child status:  achieved.


The winner is your favorite online friend and mine:

Ben Cato

Please email me so we can discuss.  


Thanks for reading
Double thanks for writing a comment.
till Next time.